This post may contain affiliate links. If you purchase through these links, we may earn a commission at no extra cost to you.
There’s something magical about a freshly baked pie. The aroma fills the kitchen, making you feel warm and nostalgic. It’s like hearing laughter and stories around the table.
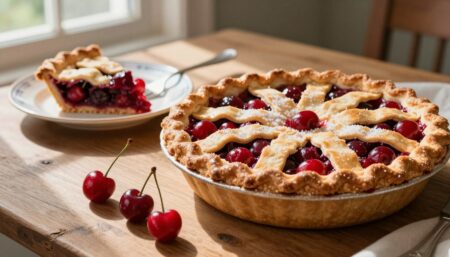
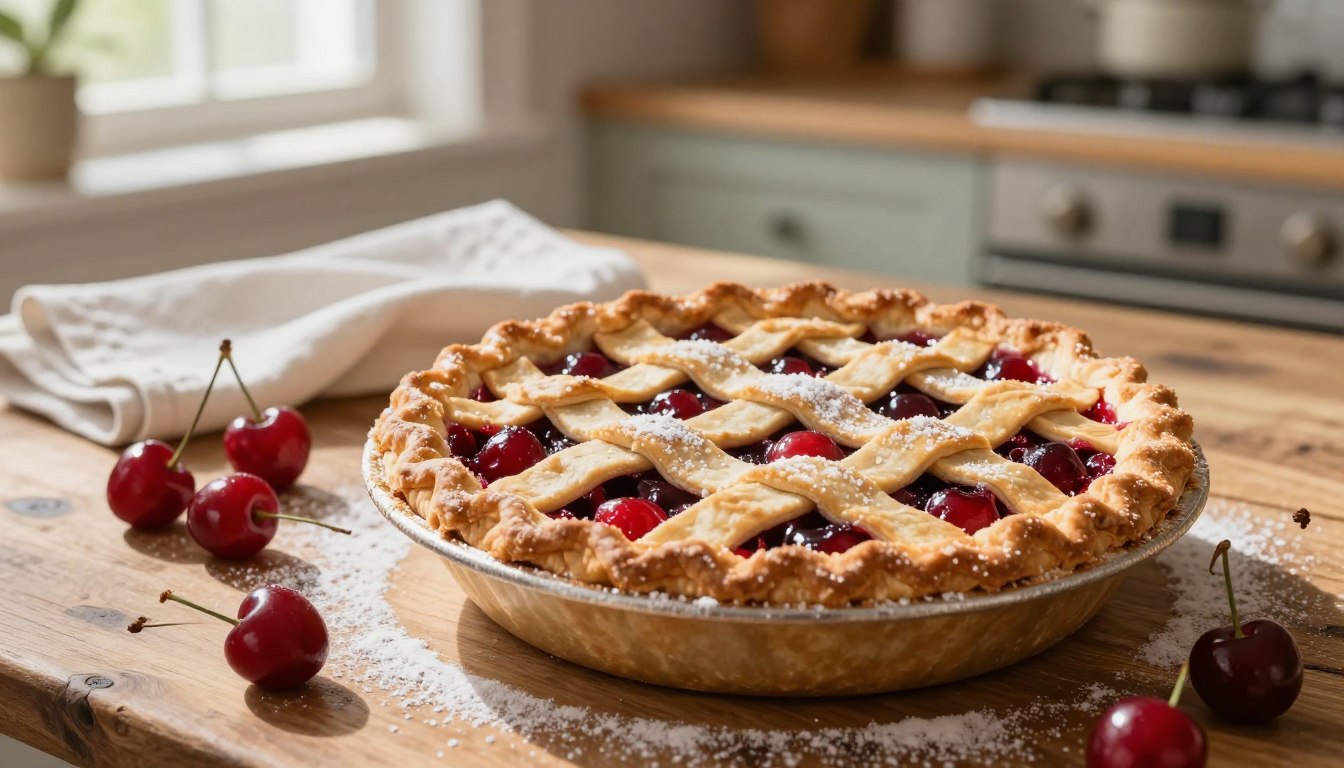
When it comes to dessert, nothing beats a Sweet Washington Cherry Pie. It captures summer’s essence with vibrant flavors and sweetness.
In this guide, you’ll learn to make a Sweet Washington Cherry Pie with Pacific Northwest cherries. You’ll discover how to balance tartness and sweetness. Each step will help you master this beloved American dessert, perfect for any gathering.
Table of Contents
Why Washington Cherries Make the Best Pie
Choosing the right cherries is key to a great cherry pie. Washington cherries are top-notch in quality and taste. They make any dessert even better.
Washington state grows about 60% of the sweet cherries in the U.S. This means you can get fresh, tasty cherries in summer. The Pacific Northwest’s special climate gives these cherries their unique flavor.
The Unique Flavor Profile of Pacific Northwest Fruit
Washington cherries are known for:
- Deep, vibrant color
- High sugar content
- Perfect balance of tartness and sweetness
This mix of flavors makes them perfect for baking. Using Washington cherries in your pie boosts its taste and enjoyment.
Why Local Sourcing Matters for Your Dessert
Choosing local cherries has many benefits:
- Fresher produce means better flavor.
- Supports local farmers and the economy.
- Reduces the carbon footprint associated with transportation.
By picking Washington cherries, you get the best for your pie. Local cherries add freshness and make your dessert stand out.
| Cherry Variety | Flavor Profile | Best Use |
|---|---|---|
| Sweet Bing | Rich and sweet | Perfect for pies |
| Sour Montmorency | Tart and tangy | Ideal for preserves |
| Rainier | Sweet with a hint of tartness | Great for fresh eating |
Essential Ingredients for Your Homemade Cherry Pie
Making a tasty homemade cherry pie starts with the right ingredients. Choose high-quality items from your pantry and fresh produce. This will greatly improve the flavor and texture of your pie. Here’s a list of what you’ll need:
- Fresh Washington cherries: These cherries are the heart of your pie, offering a sweet and tart taste.
- Granulated sugar: This sweetener balances the tartness of the cherries.
- All-purpose flour: It’s key for making a flaky pie crust.
- Butter: Use high-quality unsalted butter for the best flavor.
- Thickening agent: Cornstarch or tapioca helps achieve the perfect filling consistency.
Make sure your ingredients are at the right temperature before mixing. Cold butter and chilled water help create a flaky crust. Accurate measurements are crucial for the best results. Using fresh, local cherries will make your homemade cherry pie even better.
With these ingredients, you’re ready to bake a pie that will wow your family and friends. Now, it’s time to work on the perfect crust. A good crust is essential for a successful homemade cherry pie.
Preparing the Perfect Cherry Pie Crust Recipe
The secret to a delicious cherry pie is in the crust. A great crust is tender and flaky, perfect with the sweet filling. To get this, focus on the flour and fat ratio. The right ingredients are key to your pie’s success.
Choosing the Right Flour and Fat Ratio
When making your cherry pie crust, keep these tips in mind:
- Use all-purpose flour for a balanced structure.
- Add cold unsalted butter or lard for a rich flavor.
- Keep a 3:1 flour to fat ratio for flakiness.
This ratio makes the crust tender yet strong enough for the filling.
Chilling Techniques for Flaky Layers
Chilling your dough is crucial for a flaky crust. Here’s how to do it:
- Shape the dough into a disk after mixing.
- Wrap it in plastic wrap and chill for at least 60 minutes.
- Keep the dough cold while rolling it out to prevent fat from melting.
Sweet Washington Cherry Pie: The Ultimate Recipe
Making the perfect Sweet Washington Cherry Pie needs focus and a few key steps. This guide will help you through each part, making sure your pie is full of flavor and has a flaky crust. Follow these steps to make a dessert as good as a bakery’s in your own kitchen.
First, gather your ingredients. Here’s what you’ll need:
- 2 cups of pitted Sweet Washington cherries
- 1 cup of granulated sugar
- 2 tablespoons of cornstarch
- 1 tablespoon of lemon juice
- 1 teaspoon of vanilla extract
- 1 tablespoon of butter
- 1 pie crust (homemade or store-bought)
Here are the steps to make your Sweet Washington Cherry Pie:
- Preheat your oven to 425°F (220°C).
- In a bowl, mix together the cherries, sugar, cornstarch, lemon juice, and vanilla extract. Mix well.
- Pour the cherry mixture into the pie crust and dot with butter.
- Cover with a second crust, sealing the edges. Cut slits in the top for steam to escape.
- Bake for 30-35 minutes or until the crust is golden brown.
Let your pie cool before serving. This Sweet Washington Cherry Pie is great for any event. It mixes the sweet and tart of cherries with a flaky crust that will wow your guests.
With this ultimate recipe, you can enjoy a delicious dessert that showcases Washington cherries. Each bite is a delightful experience that brings summer’s taste to your table.
Selecting the Best Cherries for Your Dessert
Choosing the right cherries is key to a tasty pie. Washington cherries are top-notch for their quality and taste. Look for cherries that are firm, shiny, and without blemishes. This ensures your dessert will have the best texture and flavor.
The Bing cherry variety, created in 1875, is a top pick for baking. Its deep, complex flavor stays great even when heated. It’s a perfect choice for your cherry pie.
Identifying Peak Ripeness
To pick the best Washington cherries, remember these tips:
- Look for a deep red color, which means they’re ripe.
- Check for firmness; they should feel solid but not hard.
- Avoid cherries with dark spots or wrinkles, as these indicate overripeness.
Efficient Pitting Methods for Fresh Fruit
Pitting cherries can be a chore, but the right tools can make it easier. Here are some effective methods:
- Use a cherry pitter for quick and easy removal of pits.
- If you don’t have a pitter, a small knife can work. Cut the cherry in half and remove the pit with your fingers.
- Consider using a straw to push the pit out if you want to avoid cutting.
Techniques for Creating Delicious Cherry Pie Filling
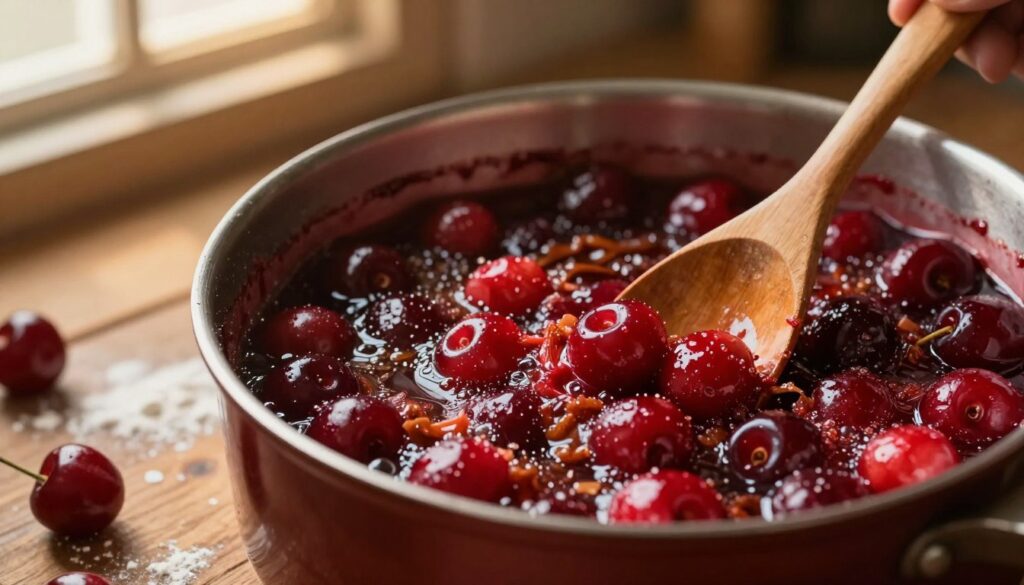
Making a tasty cherry pie filling is an art. It needs the right mix of sugar, acid, and thickeners. This mix keeps the filling from being too runny. It makes your pie both tasty and good-looking.
You’ll need about 4 to 5 cups of pitted cherries for a 9-inch pie. Here’s how to make the perfect cherry pie filling:
- Macerate the cherries with sugar and spices for at least 30 minutes. This step brings out the cherries’ natural juices, making them taste better.
- Then, add a thickener like cornstarch or tapioca. It helps the filling set as it bakes.
- Next, add a bit of lemon juice. It adds acidity and balances the cherries’ sweetness.
- Stir the mix gently. This way, you combine all ingredients without crushing the cherries.
When your cherry pie filling is ready, it’s a key part of your delicious pie. Remember to taste the filling before putting it in the crust. If it’s too sweet or sour, adjust it to your liking.
Tips for Achieving a Golden Flaky Crust
Creating a golden flaky crust can make your cherry pie stand out. With the right techniques, you can get that perfect finish everyone loves. Pay close attention to the details when assembling your pie to make sure your crust looks amazing.
Applying the Egg Wash for Color
An egg wash is key for a beautiful, glossy finish. Here’s how to do it right:
- Beat one egg with a tablespoon of water or milk.
- Use a pastry brush to apply a thin layer over the top crust.
- Be careful not to let it drip onto the edges of the pie dish.
This simple step will make your dessert look as good as it tastes.
Preventing Soggy Bottoms During Baking
A soggy bottom can ruin your pie. To avoid this, try these tips:
- Preheat a baking stone or heavy-duty metal baking sheet in the oven.
- Place your pie on the hot surface during the initial baking stages.
- Use a fork to poke holes in the bottom crust before adding the filling.
These methods will help keep your crust crisp and flaky. This lets the sweet cherry filling take center stage.
How to Assemble Your Fresh Cherry Pie
Assembling your fresh cherry pie is a key step to making a delicious dessert. It’s important to have a steady hand to seal the top and bottom crusts well. Start by rolling out your pie dough on a floured surface.
Then, place the bottom crust into your pie dish, letting it hang over the edges. Next, fill the crust with your prepared cherry filling. Make sure the filling is spread out evenly for a consistent flavor in every slice.
After that, add the top crust. Trim any excess dough around the edges of the pie. This will help create a neat finish. Crimp the edges to form a decorative seal. This not only looks great but keeps the filling from spilling out during baking.
Before baking, cut a few small vents in the top crust. These vents allow steam to escape, preventing a soggy crust. The combination of a well-sealed pie and steam vents will ensure a beautifully baked pie.
- Roll out the bottom crust and place it in the pie dish.
- Fill with cherry filling evenly.
- Trim excess dough from the top crust.
- Crimp the edges for a decorative seal.
- Cut small vents in the top crust.
Baking Guidelines for an Easy Cherry Pie Recipe
Baking your cherry pie right is key to getting that perfect taste and texture. By following the right steps, your pie crust will turn golden and the filling will bubble up. This easy cherry pie recipe will come out great with the right oven care.
Managing Oven Temperatures for Even Cooking
The oven’s temperature is very important for baking. Here’s what to do:
- Preheat your oven to 400°F for the first 20 minutes.
- Then, lower the temperature to 350°F for the rest of the baking time.
- Keep an eye on your pie to prevent it from burning.
This approach helps get a golden crust and ensures the filling cooks well. Changing the temperature helps the crust set right without getting too hard.
Knowing When Your Pie is Fully Set
It’s important to know when your pie is done. Look for these signs:
- The filling should be bubbling thickly through the vents.
- The crust should have a deep golden brown color.
- A toothpick inserted in the filling should come out clean.
By following these tips, you’ll make the best cherry pie. A bit of patience and attention will make your easy cherry pie recipe a hit at any gathering.
Cooling and Serving Your Masterpiece
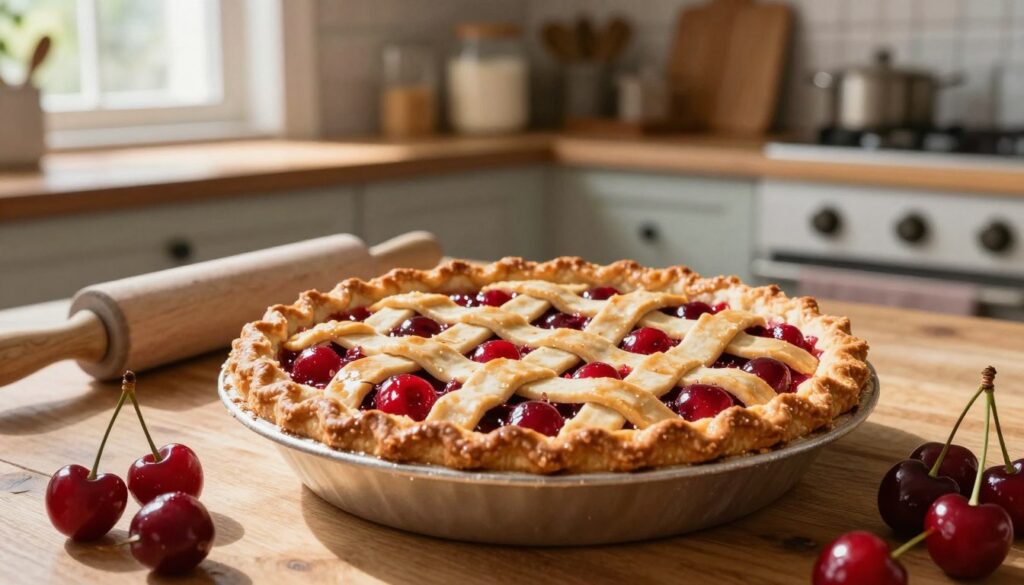
After baking your sweet Washington cherry pie, cooling it is key. Let your pie cool completely on a wire rack for 3 to 4 hours. This ensures the filling sets right. Cutting into it while hot can make a mess, with filling spilling out.
Once it’s cooled, it’s time to serve your delicious pie. Here are some ways to make it even better:
- Vanilla bean ice cream: A scoop of this creamy delight pairs perfectly with the tart cherries.
- Freshly whipped cream: A dollop of this light topping adds a touch of sweetness.
- Chocolate drizzle: For a rich twist, drizzle some melted chocolate over the top.
To make your presentation even more appealing, consider serving the pie with fresh cherries or mint leaves on the side. This adds color and makes the experience better. Sharing it with friends and family makes it even more special.
Conclusion
Learning to make cherry pie connects you to the Pacific Northwest’s rich agricultural heritage. Using fresh, top-quality ingredients makes your dessert truly special. Every step, from picking the cherries to making the crust, is key to a great pie.
This guide is here to help you become a pro at baking cherry pies. Follow the techniques shared, and you’ll wow your loved ones with every pie. There’s nothing better than sharing a homemade cherry pie in the summer.
Remember, the more you bake, the better you’ll get. With each pie, you’ll improve your skills and find your own baking style. Enjoy the journey and relish the tasty pies you make.