This post may contain affiliate links. If you purchase through these links, we may earn a commission at no extra cost to you.
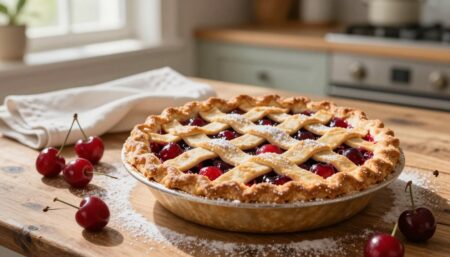
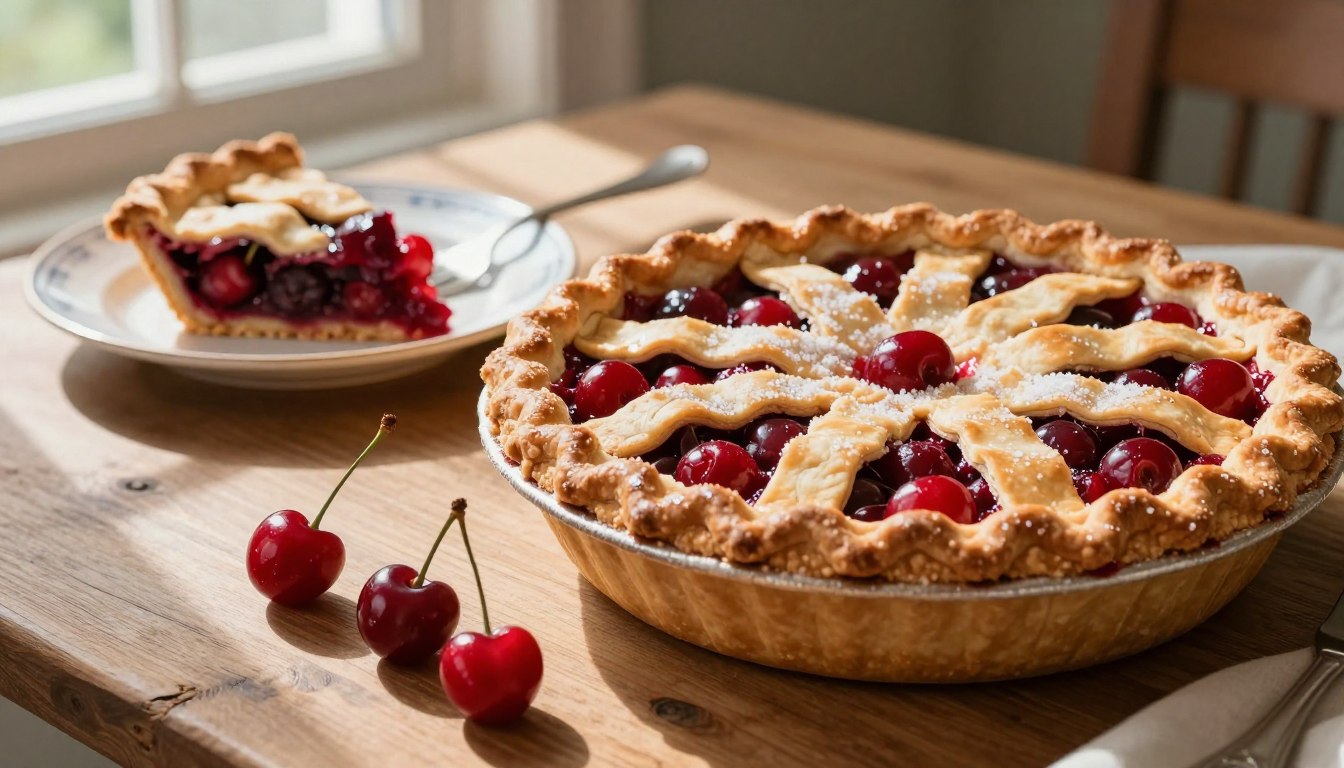
The smell of a freshly baked cherry pie is magical. It reminds us of family gatherings and sunny days. As you share slices, laughter and joy fill the air. This easy recipe lets you bring that warmth home.
This guide will show you how to make a classic Baked Fresh Cherry Pie. You’ll learn to pick the best ingredients and master the techniques. Together, we’ll make your cherry pie a favorite for any time.
Table of Contents
Essential Ingredients for Your Cherry Pie
Making a tasty cherry pie begins with picking the right ingredients. The quality of these ingredients greatly impacts the taste and texture of your dessert. Focus on the following key components for the best results.
Selecting Fresh Cherries
For a vibrant flavor, choose about 4 to 5 cups of pitted tart cherries. The Montmorency variety is a great choice because of its perfect balance of sweetness and acidity. When picking cherries, look for:
- Bright red color
- Firm texture
- Fresh aroma
Choosing Quality Flour and Butter
High-quality flour and butter are crucial for a flaky crust. Use all-purpose flour with a protein content of around 10-11%. This ensures the right texture. For butter, choose:
- Cold unsalted butter
- High-fat content for richness
These ingredients will make a delightful pie that stands out. Always choose freshness and quality to improve your baking experience.
Preparing the Perfect Cherry Pie Crust
Making a tasty cherry pie begins with a great crust. A well-crafted crust is key for your homemade cherry pie. Follow these steps to make a crust that’s both flaky and flavorful.
To make the crust, keep all your ingredients cold. This keeps the fats from melting too early. You’ll need:
- All-purpose flour
- Unsalted butter
- Salt
- Ice water
Begin by mixing flour and salt in a big bowl. Cut the cold butter into the flour with a pastry cutter or your fingers. You’re aiming for a mix that looks like coarse crumbs. This step is key for a flaky texture.
Then, add ice water slowly, mixing until the dough forms. Don’t overwork the dough, as it can become tough. Once it’s mixed, shape it into a disk, wrap it in plastic, and chill for at least 30 minutes.
When it’s time to roll it out, dust your surface with flour. Roll the dough to about 1/8 inch thick. This thickness ensures even baking and prevents a dense crust. After rolling, place the crust in your pie dish, ready for the cherry filling.
Mastering the Homemade Cherry Pie Filling
Making the perfect cherry pie filling is key for a great homemade cherry pie. It’s all about finding the right balance between sweet and tart. The ripeness of your cherries will tell you how much sugar you need. Here are some tips to make a delicious filling.
Balancing Sweetness and Tartness
Choose cherries that are naturally sweet. You might need to adjust the sugar based on how ripe they are. Here are some tips:
- Use fresh, ripe cherries for the best flavor.
- Taste the cherries before adding sugar.
- Start with 1/2 cup of sugar and adjust as needed.
Thickening Techniques for the Perfect Consistency
To avoid a runny filling, you need a thickening agent. Cornstarch or tapioca starch are good choices. Follow these steps:
- Add 3 to 4 tablespoons of cornstarch or tapioca starch.
- Mix the starch with the sugar before combining with the cherries.
- Cook the filling briefly on the stove to activate the thickening agent.
With these tips, your cherry pie filling will be thick and tasty. Your homemade cherry pie will be a real treat.
How to Assemble Your Baked Fresh Cherry Pie
Assembling your baked fresh cherry pie is an exciting step. You will bring together all your hard work into a delicious dessert. Start by rolling out your bottom dough disk. Gently press it into a standard 9-inch pie plate. This will form the base of your pie.
Next, it’s time to add the cherry filling. Spread it evenly over the crust. This ensures every slice is packed with flavor. After that, drape the top crust over the fruit. Crimp the edges to create a secure seal. This step is crucial for keeping the filling inside.
Before baking, cut several small vents in the top crust. These vents allow steam to escape. This prevents the pastry from becoming soggy during the baking cycle. A well-ventilated pie will have a perfect texture.
Follow these steps for a successful assembly:
- Roll out the bottom dough and press it into the pie plate.
- Evenly distribute the cherry filling over the crust.
- Drape the top crust over the filling.
- Crimp the edges to seal the pie.
- Cut small vents in the top crust.
With these steps, your cherry pie will be ready for baking. Enjoy the process and look forward to the delicious results!
Tips for Achieving a Golden Brown Finish
To make your cherry pie look as good as it tastes, aim for a golden brown finish. This not only makes the pie look better but also adds to its flavor. Follow these tips to get a perfect crust every time.
Applying the Egg Wash
An egg wash is a simple yet effective way to get that beautiful golden color. Here’s how to prepare and apply it:
- Beat one large egg with a tablespoon of water or milk.
- Brush the mixture evenly over the crust before baking.
- Make sure to cover the edges well to prevent burning.
Managing Oven Temperature
Getting the oven temperature right is key for a well-baked pie. Start with a high temperature and adjust as needed:
- Preheat your oven to 400 degrees Fahrenheit.
- Bake the pie at this temperature for the first 20 minutes.
- Lower the temperature to 375 degrees Fahrenheit for the remaining baking time.
This method lets the crust brown beautifully while the filling bubbles gently. It creates the perfect cherry pie.
Cooling and Setting Your Dessert
After baking your cherry pie dessert, patience is key. It’s important to let the pie cool completely for the best results. This usually takes 3 to 4 hours at room temperature.
During this time, the filling will set as the starches hydrate. This makes sure you get a firm and clean slice when you cut into it.
Cutting into your pie too early can lead to a messy situation. The filling may spill out, ruining the presentation and texture. To avoid this, follow these steps:
- Remove the pie from the oven and place it on a wire rack.
- Let it cool at room temperature for 3 to 4 hours.
- Once cooled, you can slice it into portions for serving.
Proper cooling is essential for a successful cherry pie dessert. This step allows the flavors to meld and enhances the overall taste. Remember, good things come to those who wait!
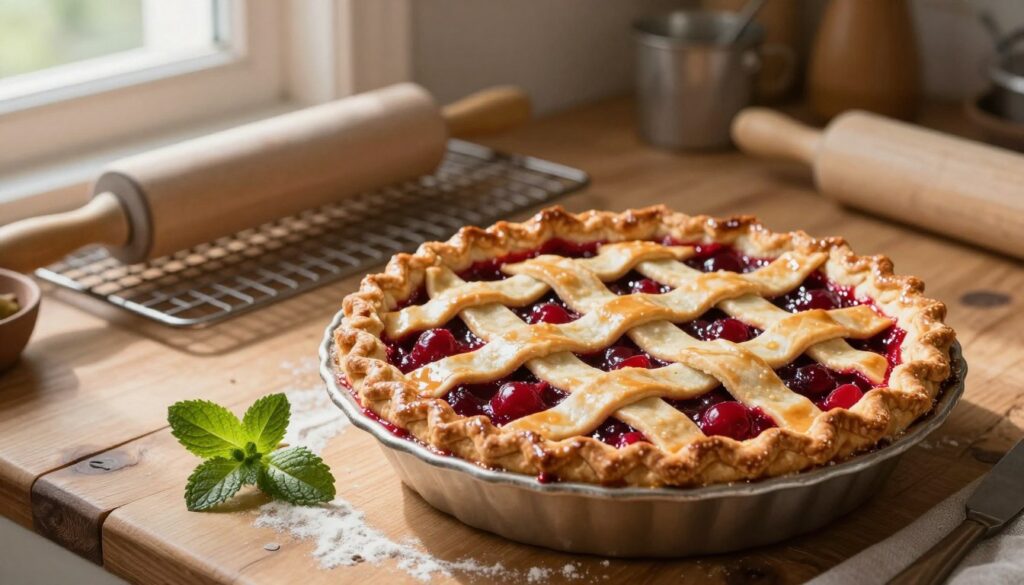
By allowing your cherry pie dessert to set properly, you ensure a delightful experience for yourself and your guests. Enjoy the delicious results of your hard work!
Serving Suggestions for Your Cherry Pie
Enjoying your cherry pie can be even more fun with the right toppings. Classic toppings can make each bite unforgettable. Here are some popular ways to make your cherry pie dessert special.
Pairing with Vanilla Ice Cream
A scoop of high-quality vanilla bean ice cream is perfect with your cherry pie. The creamy ice cream contrasts well with the warm, tart cherries and flaky crust. This mix of flavors will impress your guests.
Adding Fresh Whipped Cream
For a lighter choice, try a dollop of freshly whipped cream. Add a bit of powdered sugar to keep it stable and sweet. This topping adds a delightful touch to your cherry pie dessert.
- Vanilla bean ice cream for a creamy contrast
- Fresh whipped cream for a light touch
- Consider adding chocolate shavings for extra flavor
- Serve with a sprinkle of cinnamon for warmth
Storing Leftovers Properly
After enjoying your delicious cherry pie, you might have leftovers. Storing them right keeps their taste and texture good. Here are some tips to keep your pie fresh for a long time.
- Use an airtight container or cover the pie tightly with plastic wrap.
- Store at room temperature for up to 2 days.
- Refrigerate for up to 4 days for better food safety.
Want a warm slice later? Reheating is easy. Preheat your oven to 300 degrees Fahrenheit. Place individual portions on a baking sheet and heat for about 10 minutes. This makes the crust soft and warm again.
| Storage Method | Duration | Notes |
|---|---|---|
| Airtight Container | Up to 4 days in the fridge | Best for preserving freshness |
| Room Temperature | Up to 2 days | Ideal for short-term storage |
| Reheating | 10 minutes at 300°F | Restores texture |
By following these storage tips, your cherry pie will stay delicious, even after the first time. Enjoy every bite!
Troubleshooting Common Baking Issues
Baking can be tricky, and making the perfect cherry pie is no exception. You might face issues like a soggy bottom or runny filling. Here are some tips to help you fix these problems.
Preventing a Soggy Bottom
A soggy bottom can ruin your cherry pie. To avoid this, try these tips:
- Place your pie plate on a preheated baking sheet.
- Use a pizza stone for added heat during the first 15 minutes of baking.
- Ensure your cherry pie crust is properly chilled before filling.
Fixing Runny Filling
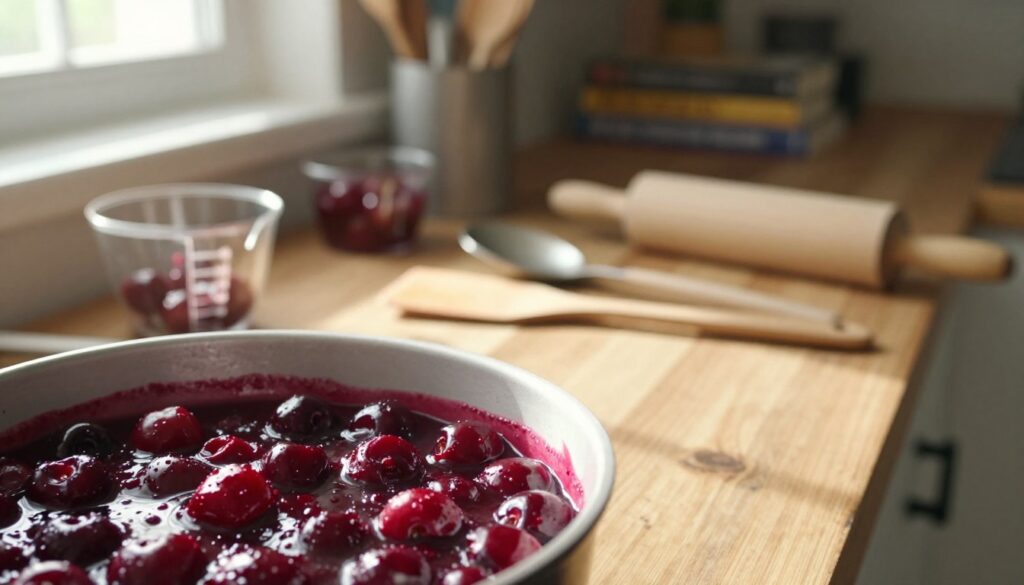
If your cherry pie filling is runny, here’s how to fix it:
- Use the correct ratio of thickener to fruit juice.
- Ensure you are not adding too much liquid to your cherry pie filling.
- Allow the filling to cool slightly before pouring it into the crust.
By following these tips, you can make a cherry pie with a perfect crust and filling. Enjoy your baking adventure!
Why This Is the Best Cherry Pie Recipe
This Baked Fresh Cherry Pie is perfect for impressing guests. It highlights the natural cherry flavor, making every bite fresh. This recipe helps you master the art of baking a fruit pie.
Here are a few reasons why this recipe stands out:
- Fresh Ingredients: Ripe, fresh cherries make your pie taste better.
- Foolproof Crust: The method ensures a flaky, golden crust every time.
- Balanced Sweetness: It gets the sweet and tart just right, making it hard to resist.
- Precise Techniques: It teaches you how to avoid common baking mistakes.
By using this recipe, you avoid the uncertainty of baking fruit pies. You’ll get consistent results that look great and taste even better. Each slice of your Baked Fresh Cherry Pie will show off your baking talent.
When you serve this pie, you’ll make a big impression on your friends and family. Get ready for all the compliments!
Conclusion
Learning this easy cherry pie recipe lets you make a wonderful dessert. It highlights the beauty of seasonal cherries. Every step, from picking the freshest ingredients to making the perfect crust, makes a pie that will wow everyone.
With the tips from this guide, you can bake the best cherry pie in your kitchen. This step-by-step guide makes it fun and rewarding.
When you enjoy your pie, remember baking is more than just the result. It’s about the happiness of making something tasty to share with loved ones. Have fun with your cherry pie journey!