


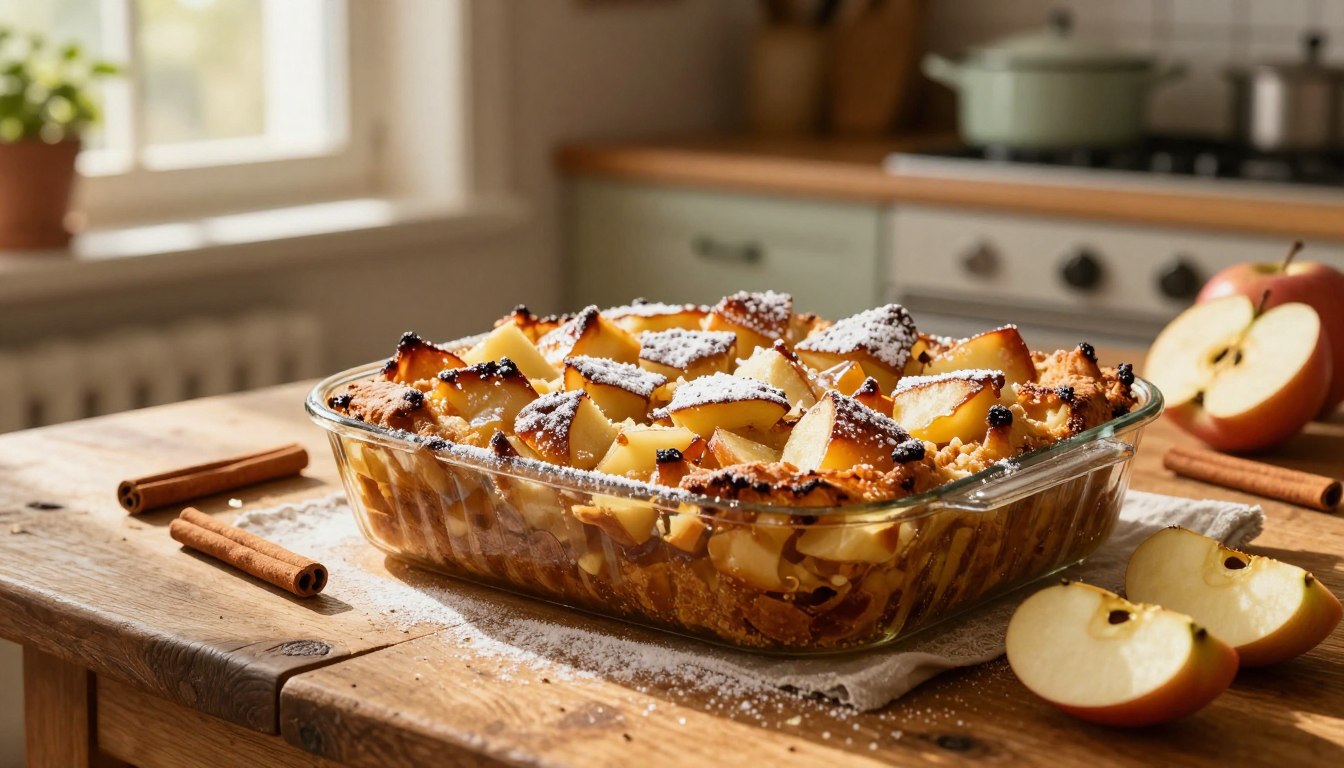
Warm cinnamon and sweet fruit create kitchen magic on a chilly evening. You may remember homemade dessert waiting after a long day at school or work. That cozy feeling comes alive with Gramma’s apple bread pudding, a classic treat.
We guide you through choosing fresh ingredients, mixing rich baked custard, and assembling this wonderful dish. You will learn to bake your creation to absolute perfection and serve it proudly at home. This family-friendly favorite suits busy weeknights, holiday gatherings, and Sunday dinners.
When extra pantry staples and fresh fruit are available, this practical recipe comes to the rescue. Nothing beats the rich texture of tender fruit with soft baked pieces in every bite. Get ready to create a timeless dessert your entire family will request again and again.
What Makes This Gramma’s Apple Bread Pudding a Family Favorite
Every home baker wants a dessert that bridges simple weeknight comfort with holiday-worthy charm. This delightful easy apple pudding recipe captures traditional baking magic without advanced skills or hard-to-find ingredients. It suits first-time cooks and experienced bakers, delivering comforting results every time.
Grandma-style desserts hold a special place in our hearts through honest ingredients and time-tested techniques. You do not need fancy equipment or pastry chef credentials to make this treat. You need pantry staples, fresh fruit, and patience while your oven works its magic.
The Comforting Flavor and Texture You Can Expect
The secret lies in the striking contrast of textures in every spoonful. Each spoonful combines rich, custard-soaked bread with tender apple pieces seasoned with gentle spices. The edges become lightly crisp, while the center stays soft and set.
Warm cinnamon and nutmeg bring the flavors together in a cozy, nostalgic dessert. Their familiar aromas fill your kitchen and recall classic family gatherings.
How This Easy Apple Pudding Recipe Fits Any Occasion
This easy apple pudding recipe suits many occasions. Make it on a lazy Sunday afternoon for your household, or serve it proudly at a holiday dinner. It fits a casual weeknight dinner or a festive autumn celebration.
The process uses simple mixing and baking steps, so complicated timing will not cause stress. You can enjoy your loved ones’ company instead of worrying about difficult cooking techniques.
Recipe Overview: Yield, Timing, and Difficulty
Planning is easy when you understand this dessert’s key details. The finished dessert serves a small family or a cozy dessert table gathering. You need a short preparation period, followed by baking and cooling time for the custard to set.
Timing may vary with your baking dish, bread moisture, apple size, and oven accuracy. Use visual cues and doneness checks with the suggested timeframe for the best results.
| Feature | Details | Notes |
|---|---|---|
| Skill Level | Easy to Moderate | Great for beginners and experienced bakers alike. |
| Prep Time | 20 Minutes | Chopping apples and soaking the bread. |
| Bake Time | 45 to 50 Minutes | Until the center is set and golden brown. |
| Yield | 6 to 8 Servings | Perfect for family dessert sharing. |
Gather the Ingredients and Equipment Before You Begin
Kitchen success starts before the oven heats. Organizing your workspace makes baking this delightful apple bread pudding recipe smooth and enjoyable.
Gather everything you need before starting. Good preparation helps the custard bind well and the fruit bake perfectly.
Ingredients for the Bread Pudding
Great desserts use wholesome ingredients that work well together. You will need hearty bread, fresh fruit, dairy, and warm spices.
Gather large eggs, whole milk or heavy cream, brown sugar, unsalted butter, ground cinnamon, ground nutmeg, vanilla extract, and salt. Together, these ingredients make the rich custard that holds the dish together.
Choosing the Best Apples and Bread
The right apples and bread help create the best texture. Choose ingredients that stay firm while baking.
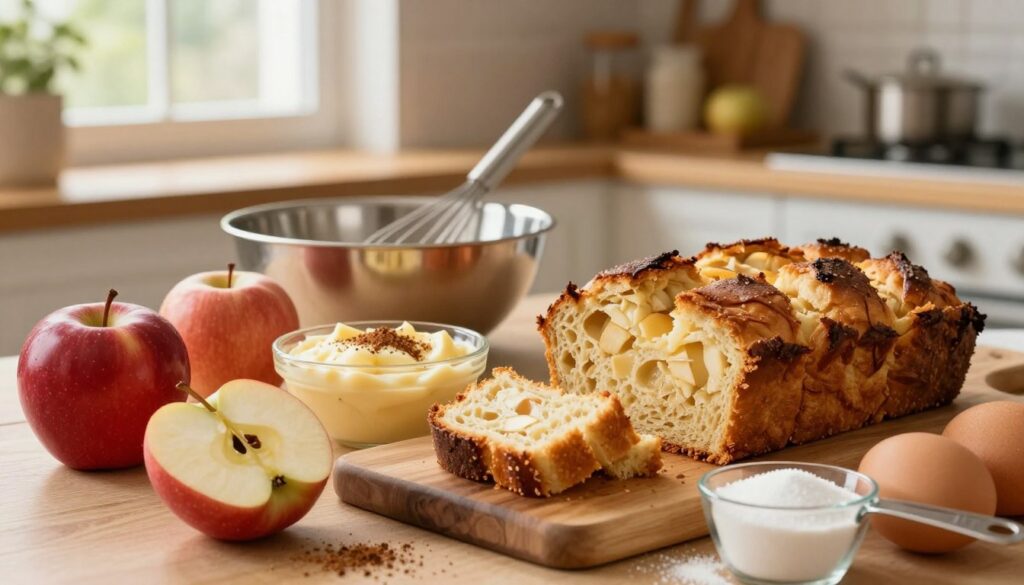
Pick firm apples like Granny Smith, Honeycrisp, or Braeburn. Use day-old challah, brioche, or French bread, which absorbs liquid without dissolving quickly.
Equipment You Will Need
Keep the right tools nearby to avoid searching during baking. Good organization keeps your routine fun and stress-free.
- A standard baking dish or casserole pan
- Mixing bowls in various sizes
- A wire whisk and a rubber spatula
- A sharp chef knife and a sturdy cutting board
- Measuring cups and spoons
- An instant-read thermometer for testing doneness
Ingredient Substitutions and Dietary Adjustments
Dietary needs or an empty pantry should not stop you from making dessert. You can adapt this apple bread pudding recipe to fit your lifestyle.
- Swap dairy milk for unsweetened almond milk, oat milk, or coconut milk.
- Use plant-based butter sticks for a dairy-free fat source.
- Select a certified gluten-free loaf of bread if you avoid wheat products.
- Reduce the brown sugar or substitute it with a natural baking sweetener for lower sugar intake.
These changes may slightly affect your dessert’s richness, structure, or baking time. Watch the baking time carefully when using different ingredients.
How to Make Gramma’s apple bread pudding Step by Step
Use a careful process to make each bite comforting and delicious. This method keeps your traditional bread pudding moist inside with a lightly browned top. Simple kitchen staples become a memorable family treat when you handle them with care.
Begin every baking project by preparing ingredients on the cutting board. Preparing them early makes assembly smooth and enjoyable.
Step 1: Prepare the Apples and Bread
Choose whether to peel the apples based on your preference. Keep skins for rustic texture, or peel them for a softer bite. Core the apples, slice them evenly, then tear or cube the chosen loaf for even custard absorption.
Step 2: Prepare the Baking Dish and Preheat the Oven
Set the oven to the correct temperature so it heats evenly. Coat the baking dish well with butter or cooking spray. This prevents sticking and helps create a golden crust around the edges.
Step 3: Whisk the Rich Custard
In a large bowl, combine eggs, milk, sugar, warm spices, vanilla extract, and a pinch of salt. Whisk until everything blends into a smooth liquid. Do not overwhip; the mixture should not become foamy.
Step 4: Combine the Bread, Apples, and Custard
Layer or gently toss the cubed bread and sliced fruit in a large bowl. Pour the custard evenly over the mixture. Use a spatula to press the bread down gently until every piece is moist.
Step 5: Rest the Mixture Before Baking
Let the assembled dish rest on the counter briefly. This gives the bread time to absorb the liquid and its flavors. Skipping this step may leave dry spots in the dessert.
Step 6: Add the Final Topping and Prepare to Bake
Before baking, sprinkle sugar, cinnamon, or small butter dots over the surface. This adds richness and a pleasant crunch. Your traditional bread pudding is ready for the oven.
Step 7: Bake Until the Center Is Set
Place the dish in the heated oven and watch it closely. Judge it by a puffed, set center and lightly browned surface, rather than time alone. Remove it carefully when ready, then let it cool before serving.
How to Tell When the Apple Bread Pudding Is Done
Baking a delicious apple bread pudding ends with knowing when it is done. The right timing gives you a tender center and slightly crisp top. Without careful checks, the pudding may turn dry or leave the custard undercooked.
Visual and Physical Signs of Doneness
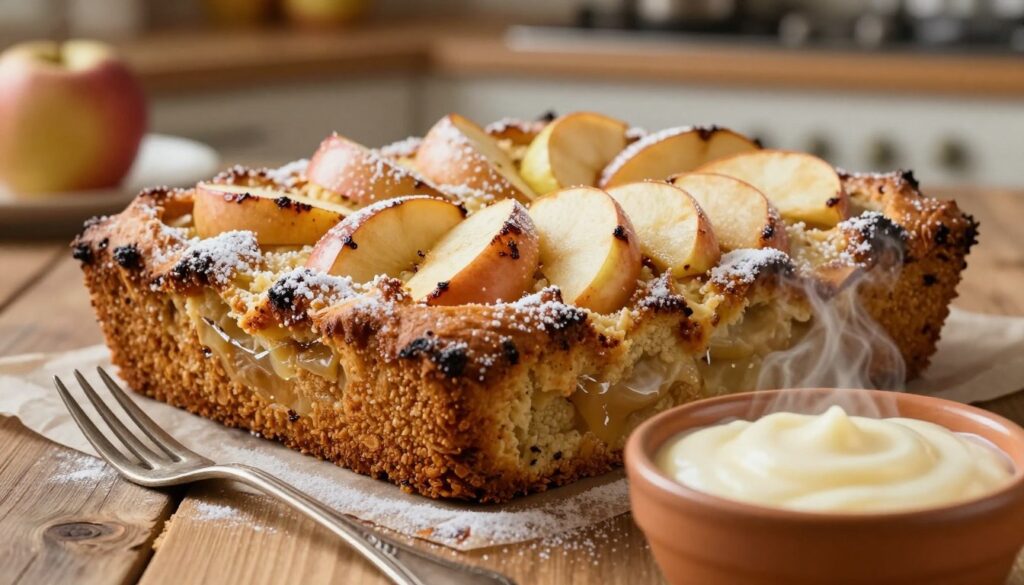
Look for a lightly golden top that has puffed slightly around the dish’s edges. The edges should feel firm but spring back gently when pressed. When you gently shake the dish, the center should stop looking liquid while moving slightly.
Using an Instant-Read Thermometer
An instant-read thermometer provides a reliable second check. Insert the probe into the bake’s center without touching the dish’s bottom or sides. A reading between 170°F and 175°F shows the custard eggs have set properly and helps ensure food safety.
Why the Pudding May Be Undercooked or Overbaked
Several hidden factors can change baking time and texture. Knowing them helps you avoid common kitchen mistakes on your next attempt.
| Baking Issue | Primary Cause | Prevention Tip |
|---|---|---|
| Undercooked Center | Excess liquid or overly deep dish | Use a wider dish or bake slightly longer |
| Overbaked Texture | Excessive oven heat or dry bread | Check temperature with an oven thermometer |
| Soggy Layers | Large apple pieces releasing too much moisture | Slice apples thinly and pat dry before mixing |
Cooling and Resting Before Serving
Patience matters after you remove the pan from the heat source. Let the dessert rest at room temperature so the remaining heat can finish cooking it. Resting lets the hot custard in your delicious apple bread pudding firm up fully, so portions hold their shape on the plate.
Serve Gramma’s Apple Bread Pudding for the Best Flavor
Turn this classic baked treat into an unforgettable family apple dessert with thoughtful presentation. Serving it well shapes how guests enjoy its rich custard and tender fruit.
Whether you host a holiday dinner or enjoy a quiet weeknight meal, careful plating brings out the best flavors. Explore these simple ways to present your creation.
Classic Serving Suggestions
Serve this wonderful pudding warm, slightly cooled, or at room temperature. Each temperature creates a different texture and highlights the spiced apples.
For a casual weeknight meal, spoon generous portions straight from the baking dish. For a holiday gathering, let the dish cool slightly before cutting neat squares for a buffet table.
Toppings That Complement the Apples and Custard
Choose toppings that enhance, not overpower, the fruit’s natural flavors and warm spices. A light dusting of powdered sugar or cinnamon sugar adds a sweet finish.
Add warm caramel sauce or pure maple syrup for extra richness. For creamy contrast, add fresh whipped cream or vanilla ice cream.
Pairings for a Family Dessert Table
Build a complete dessert table by choosing drinks that suit your meal. Freshly brewed coffee or black tea cuts through the rich custard.
If you prefer a fruit-forward drink, serve warm spiced cider beside each plate. These thoughtful pairings make your homemade family apple dessert feel even more special.
Troubleshoot Common Problems and Customize the Recipe
Even traditional kitchen projects can have small baking problems that need quick fixes. Knowing how to adjust ingredients helps your dessert turn out well every time.
Fixing Dry, Soggy, Dense, or Uneven Bread Pudding
If your dessert turns out too dry, you can fix it next time. Use fresher day-old bread, increase the custard slightly, or reduce baking time.
If the mixture is too wet, adjust your technique. Use less liquid, dry the bread more thoroughly, cut the apples smaller, or bake longer.
A dense texture often comes from packing ingredients too tightly in the dish. Do not pack the bread tightly, and let it rest long enough to absorb the custard evenly. Cut apples and bread into similar sizes, then spread the custard evenly.
Flavor Variations for Your Homemade Apple Pudding
Customize this classic treat to match your preferences. Add cardamom or nutmeg with traditional cinnamon, or mix in chopped pecans or walnuts for crunch.
Making the Recipe for Different Baking Dishes
Your bakeware choice changes baking time and the final texture. A deep ceramic dish makes a softer, moister center and a tender top. A shallow metal pan creates golden edges and a firmer texture.
Food Safety and Allergy Considerations
Smart ingredient swaps can make this dessert safe for everyone at your table. Replace dairy milk with almond or oat milk for a lactose-free version. Always check labels to ensure every ingredient is free from allergens.
| Common Issue | Primary Cause | Recommended Solution |
|---|---|---|
| Dry Texture | Overbaking or stale bread | Use fresher bread or reduce baking time |
| Soggy Center | Excess liquid | Dry bread thoroughly and cut apples smaller |
| Uneven Bake | Poor ingredient distribution | Mix gently and allow adequate resting time |
Store, Reheat, and Make This Classic Apple Pudding Ahead
You can preserve your classic apple pudding with a few simple storage steps. Good storage helps the dessert keep its rich flavor and comforting texture for days after baking.
Refrigerating Leftovers
Let the baked dish cool completely at room temperature before storing it. Cover the dish tightly with plastic wrap, or place portions in an airtight container. Refrigerate it promptly to keep it fresh and prevent bacterial growth.
Reheating Individual Portions
Use low or moderate heat to keep single servings smooth and creamy. Warm them in a microwave at medium power or gently in a conventional oven. Avoid high heat because it can make the custard rubbery and dry the edges.
Freezing and Thawing the Pudding
Freezing this classic apple pudding works well when you tightly wrap the fully cooled dessert in multiple layers of plastic wrap and foil. The texture may become slightly softer after thawing due to the nature of baked custard. Move the frozen dessert to the refrigerator overnight, then thaw it safely before reheating.
Preparing the Pudding in Advance
Save time on busy days by preparing ingredients ahead: slice fruit and cut bread, then store them separately until assembly. You can assemble the uncooked classic apple pudding mixture ahead, cover it tightly, and chill it for a limited time. Because the dish starts chilled, it needs a few extra oven minutes to bake completely.
Conclusion
Baking an old-fashioned bread pudding with apples brings warmth and comfort to your kitchen. This timeless dessert uses simple ingredients and basic kitchen skills to create a memorable treat.
Choose firm baking fruit and day-old bread for the best start. Let the rich custard soak completely into the loaf before baking. Watch the timer so the center sets while the top browns nicely.
Customize your dessert with extra nuts, citrus zest, or your favorite spices. Serve warm slices with vanilla ice cream or a splash of heavy cream for the best flavor.
Store leftovers safely in the refrigerator for busy weeknights. Prepare this reliable recipe today to delight family and friends at your next gathering.
Store, Reheat, and Make This Classic Apple Pudding Ahead
The Comforting Flavor and Texture You Can Expect
This easy apple pudding recipe suits experienced bakers and beginners. Enjoy custard-soaked bread, tender apples, crisp edges, and a soft center. Warm spices create a familiar family-baking flavor without hard techniques.
How This Easy Apple Pudding Recipe Fits Any Occasion
Serve this homemade dessert on busy weeknights, at holiday gatherings, or during Sunday dinners. It also uses extra bread and apples from your kitchen.
Recipe Overview: Yield, Timing, and Difficulty
This dish serves a small family or dessert table. Plan time for preparation, baking, and cooling. Timing may change with the dish, bread moisture, apple size, and oven accuracy, so check visual signs and doneness.
Ingredients for the Bread Pudding
Gather bread, apples, eggs, milk or cream, brown sugar, butter, cinnamon, nutmeg, vanilla, and salt. Salt balances the finished flavor.
Choosing the Best Apples and Bread
Choose firm apples that hold their shape, such as Honeycrisp or Granny Smith. Use day-old bread that absorbs custard without quickly turning mushy.
Equipment You Will Need
Gather a baking dish, mixing bowls, a whisk, a knife, and a cutting board. You also need measuring tools, a spatula, and an instant-read thermometer.
Ingredient Substitutions and Dietary Adjustments
Use dairy-free milk, gluten-free bread, reduced-sugar options, or plant-based butter. These changes may affect richness, structure, or baking time.
Step 1: Prepare the Apples and Bread
Peel the apples or leave the skins on. Remove the cores, then cut the apples into even pieces. Tear or cube the bread for steady custard absorption.
Step 2: Prepare the Baking Dish and Preheat the Oven
Grease the baking dish well. Preheat your oven to the correct temperature before assembling the ingredients.
Step 3: Whisk the Rich Custard
Whisk the eggs, milk, sugar, spices, vanilla, and salt until combined. Avoid whipping the mixture too much.
Step 4: Combine the Bread, Apples, and Custard
Layer or toss the bread and apples evenly in the dish. Pour the custard over them, then gently press down the bread. This helps it become fully moist.
Step 5: Rest the Mixture Before Baking
Let the mixture rest before baking. This gives the bread time to absorb the rich liquid.
Step 6: Add the Final Topping and Prepare to Bake
Add butter, sugar, or spice topping if desired. Then place the dish in the hot oven.
Step 7: Bake Until the Center Is Set
Bake until the center looks puffed and set. The surface should be lightly brown. Use visual signs instead of time alone.
Visual and Physical Signs of Doneness
Look for a lightly golden top and firm, gently springy edges. The center should no longer look liquid but may move slightly.
Using an Instant-Read Thermometer
Insert an instant-read thermometer into the center. Keep it away from the baking dish for an accurate reading.
Why the Pudding May Be Undercooked or Overbaked
A deep dish, extra liquid, large apple pieces, or a cool oven may cause underbaking. A shallow dish, dry bread, high heat, or extra oven time may cause overbaking.
Cooling and Resting Before Serving
Let the pudding cool and rest before slicing. The custard will finish setting, helping each portion hold its shape.
Classic Serving Suggestions
Serve Gramma’s apple bread pudding warm, slightly cool, or at room temperature. Spoon it from the baking dish for a relaxed family meal. Cut neat squares for a buffet table.
Toppings That Complement the Apples and Custard
Top your homemade apple pudding with whipped cream, vanilla ice cream, or warm caramel sauce. You can also use powdered sugar, cinnamon sugar, maple syrup, or light vanilla glaze.
Pairings for a Family Dessert Table
Pair this family apple dessert with coffee, black tea, spiced cider, or another scoop of vanilla ice cream.
Fixing Dry, Soggy, Dense, or Uneven Bread Pudding
Fix texture problems by using less liquid, drying the bread more, cutting apples smaller, or baking longer. Do not pack the bread tightly, and allow enough resting time.
Cut the apples and bread into similar sizes. Distribute the custard well so everything absorbs it evenly.
Flavor Variations for Your Homemade Apple Pudding
Customize traditional bread pudding with chopped nuts, citrus zest, or your favorite warm spices.
Making the Recipe for Different Baking Dishes
Change your baking plan for a deep casserole dish or shallow pan. Watch the baking time closely.
Food Safety and Allergy Considerations
Make sure the eggs reach a safe internal temperature. Clearly label dishes for people with dietary restrictions or food allergies.
Refrigerating Leftovers
Cool the classic apple pudding safely. Cover it well and refrigerate leftovers promptly to preserve quality.
Reheating Individual Portions
Reheat portions in the microwave or oven over moderate heat. This keeps the custard from becoming rubbery and the edges from drying.
Freezing and Thawing the Pudding
Freeze the fully cooled pudding in a tight wrapping. Its texture may become softer after thawing. Thaw it in the refrigerator, then reheat it slowly.
Preparing the Pudding in Advance
Prepare the bread and apples separately, or chill the assembled mixture briefly before baking. If it starts cold, allow extra baking time.
