This post may contain affiliate links. If you purchase through these links, we may earn a commission at no extra cost to you.
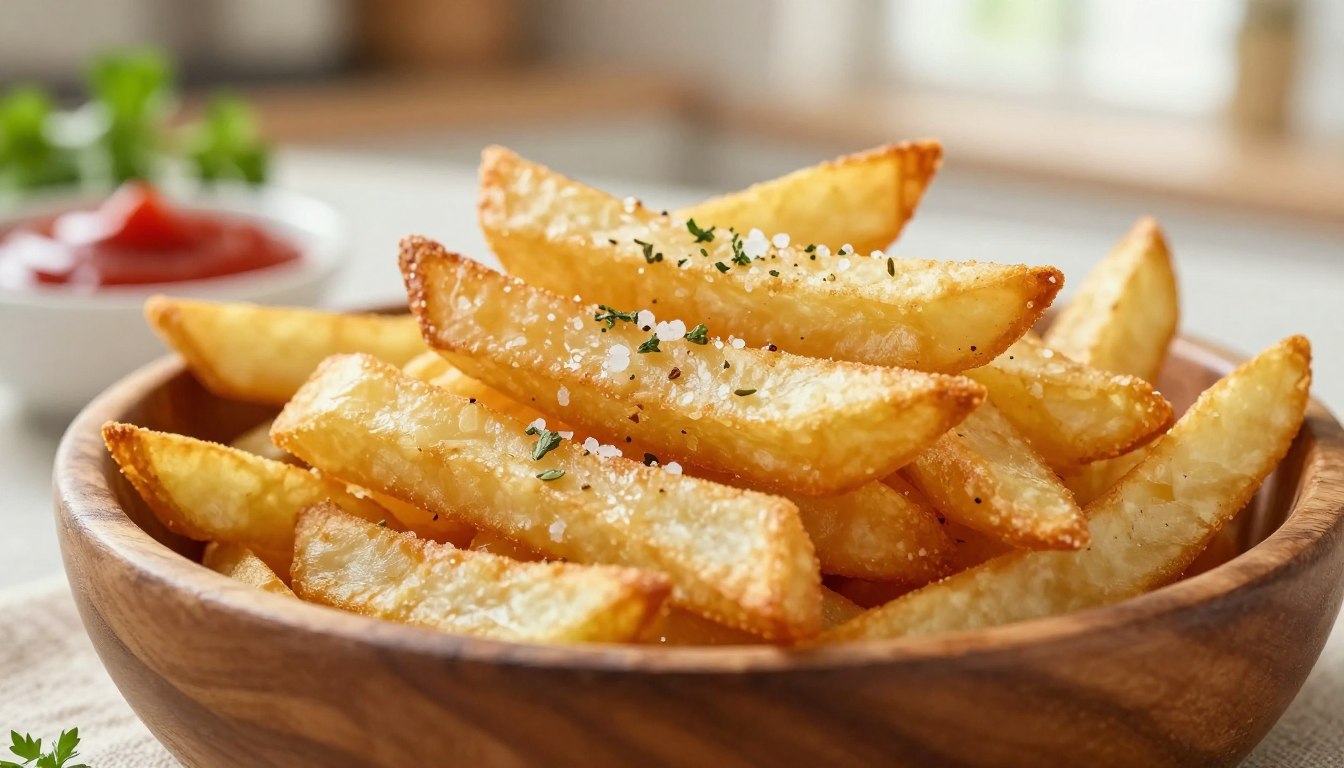
Craving a hot plate of crispy potato snacks? You can easily recreate that magic in your own kitchen.
Making truly devine french fries from scratch is easier than you might think. This practical guide shows each cooking step.
You will learn to choose the best potatoes and remove excess starch. Proper drying and careful two-stage frying help create golden, crisp fries.
Grab your favorite knife and get ready to cook. Simple ingredients and smart safety tips make this devine french fries recipe easy for every home cook.
Key Takeaways
- Choose the right potato variety for the best texture.
- Soak and rinse your cut potatoes to remove excess starch.
- Dry the potato strips thoroughly before cooking.
- Master the two-stage frying method for ultimate crispiness.
- Season your hot snacks immediately after they leave the oil.
What Makes Devine French Fries Crispy and Delicious?
Making delicious crispy fries requires control over texture and heat. Each bite should have a crunchy outside and a soft, fluffy center.
High-starch potatoes naturally create a lighter texture. Soaking cut potatoes removes excess starch that can make fries stick together or turn gummy.
Dry potato slices completely before frying for proper browning and safer cooking. Moisture can cause dangerous oil splatters and steam the potatoes.
Next, use the famous two-fry method. The first, lower-temperature fry gently cooks the potato center, while the second, hotter fry creates a golden, crunchy outside.
Keeping the oil at the right temperature stops fries from absorbing too much grease. Add salt and spices immediately after frying, so they stick to the hot surface.
Ingredients and Equipment for Homemade Fries
Your journey to making the best fries starts with careful preparation and reliable tools. Gathering everything first keeps cooking safe and organized.
You need only a few simple ingredients for great flavor and texture. Choose high-starch russet potatoes and a neutral, high-heat oil, such as canola, peanut, or sunflower oil.
Keep sea salt ready for finishing. Optional seasonings include black pepper, garlic powder, smoked paprika, and fresh herbs. They can add more flavor to your dish.
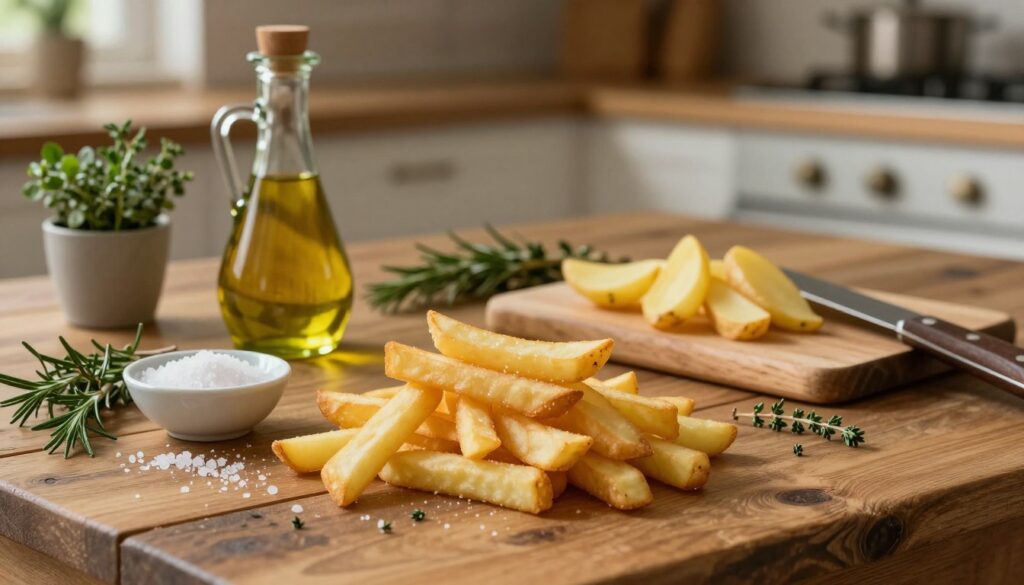
The right gear helps you get professional results at home. Check the list below for every essential tool. Have each item ready before you begin.
| Category | Item | Purpose |
|---|---|---|
| Ingredients | Russet Potatoes | Provides the fluffy interior |
| Cooking Medium | Neutral Oil | Enables crisp frying |
| Tools | Dutch Oven | Holds heat steadily |
| Precision | Kitchen Thermometer | Monitors exact oil heat |
Use a heavy-bottomed pot and enough oil for the potatoes to float freely. Avoid crowding the pot. Keep heat-resistant utensils and a stable work surface nearby to cook your tasty fries safely.
How to Make Devine French Fries Step by Step
Your journey to the ultimate hand-cut fries starts with this simple guide. Restaurant-quality food can seem hard to make at home. Breaking the process into clear steps makes it easier.
You do not need culinary school training to succeed. You need patience, proper tools, and careful attention. Each stage helps create a crisp outside and fluffy inside.
Before turning on the stove, organize your workspace. Clean the counters and gather your equipment. Good preparation prevents messes and keeps you safe near hot oil.
Let us review the complete cooking method together. Follow each phase carefully for a golden batch of delicious fries every time.
Preparation is the first major phase. Treat the potatoes carefully before they touch hot oil. Rushing can create soggy, unevenly cooked results.
Wash your Russet potatoes well under cold running water. Scrub the skins to remove dirt and farm debris. Pat them completely dry with a clean towel.
Use a vegetable peeler to remove the skin. Some people enjoy skin-on potato snacks, but traditional golden fries need peeled potatoes. Peel each potato evenly to remove tough skin patches.
Now slice the potatoes into uniform hand-cut fries. Stand one peeled potato on your cutting board. Slice a thin piece from one side to create a flat base.
Place the potato flat side down. Slice it lengthwise into slabs about one-third of an inch thick. Stack the slabs and cut them into matching strips.
Uniform pieces cook evenly. Different sizes may cause some pieces to burn while others stay raw. Take your time so every strip matches.
After cutting the potatoes, remove their natural surface starch. This starch makes the pieces stick and burn. Soaking helps prevent this problem.
Place the cut strips in a large bowl of cold water. Soak them for at least thirty minutes or several hours in the refrigerator. Cloudy water shows that excess starch is leaving the potatoes.
Drain the starchy water through a colander. Rinse the potatoes once more with fresh cold water. Shake the colander gently to remove extra liquid.
Drying the potatoes is vital for safety and quality. Water and hot oil are dangerous together. Moisture can cause strong splattering when the potatoes enter the fryer.
Place the rinsed potatoes on a clean, lint-free towel or paper towels. Pat and roll them until they feel completely dry. Do not skip this step.
Now heat the cooking oil. Safety must remain your top priority. Use a deep, heavy-bottomed pot or an electric deep fryer made for high-temperature cooking.
Never fill the pot too high with oil. Leave three to four inches of space for bubbling and displacement. Overfilling can cause grease fires and serious burns.
Heat the oil to about 325 degrees Fahrenheit (163 degrees Celsius). Use a reliable digital candy or deep-fry thermometer. Guessing the temperature can produce uneven results.
The first cooking stage is called blanching. This fry cooks the potato inside without adding much color. The goal is a soft center, not a crisp crust.
Lower dry potato strips into the oil in small batches. Never add a large pile at once. Overcrowding lowers the temperature and creates soggy, greasy fries.
Use a slotted metal spoon or wire spider strainer. Lower the strips gently into the oil. Keep your hands away from the surface to avoid steam and splashes.
Cook the strips in 325-degree oil for five to six minutes. Stir them sometimes with your wire tool. The edges should look matte and pale yellow.
Lift the partly cooked pieces from the oil. Shake the basket gently so extra grease drains back into the pot. Place them on a wire rack over a baking sheet.
Let the blanched pieces rest at room temperature. Resting spreads moisture evenly through each potato. Cool them for at least twenty to thirty minutes.
While the first batch rests, check the oil temperature. Increase the heat and let the oil reach about 375 degrees Fahrenheit (190 degrees Celsius).
Watch the temperature as it rises. Oil that is too cool makes greasy fries. Oil that is too hot can burn the outside before the crust turns golden.
The second fry transforms the batch into delicious fries. Hot oil creates the crisp outside that people love. Return the cooled pieces to 375-degree oil in small batches.
Watch the pot during this quick stage. Bubbles rise as the remaining moisture turns to steam. Cook the pieces for two to three minutes until deep golden-brown.
Watch for clear visual signs. When the fries turn rich gold and make a slight rigid sound while stirring, they are ready. Stay beside the stove during this stage.
Remove the finished pieces with your metal strainer. Shake it gently to drain surface grease. Move the fries at once to the clean wire rack.
For maximum crispness, avoid using paper towels for the final drain. Paper towels trap steam and soften the bottoms. A wire rack lets air move around every piece.
Season the warm fries as soon as they reach the rack. Salt sticks best while the surface oil remains active. Toss them gently with fine sea salt or kosher salt.
Review these processing steps to keep your workflow safe and organized:
- Wash and Peel: Scrub your potatoes clean and strip away the outer skin completely.
- Cut Uniformly: Slice your potatoes into even matchsticks for consistent cooking times.
- Soak in Cold Water: Remove excess starch by letting the sticks sit in cold water.
- Dry Completely: Pat the pieces dry with towels to prevent dangerous oil splatters.
- First Fry (325°F): Cook the potatoes gently until the centers soften without browning.
- Rest and Cool: Let the pieces rest on a wire rack to distribute moisture.
- Second Fry (375°F): Crisp the exterior in hotter oil until golden-brown.
- Season Immediately: Toss with salt while hot for maximum flavor adherence.
Compare the two cooking stages using the details below:
| Frying Stage | Target Temperature | Cooking Time | Primary Goal |
|---|---|---|---|
| First Fry (Blanch) | 325°F (163°C) | 5 to 6 minutes | Soften the interior |
| Resting Period | Room Temperature | 20 to 30 minutes | Equilibrate moisture |
| Second Fry (Crisp) | 375°F (190°C) | 2 to 3 minutes | Create golden crust |
Follow strict oil safety rules when handling hot liquids. Keep a fire extinguisher nearby that is rated for grease fires. Never pour water onto a grease fire because it can cause an explosive flare-up.
Keep pets and young children away from the stove. Turn pot handles inward to prevent accidental bumps. Respect the hot oil for a safe, calm cooking experience.
Turn off the burner when cooking ends. Let the oil cool fully before straining or storing it. Hot oil can cause serious burns.
Serve the fries right away while they are piping hot. The right dipping sauces can improve the meal. Enjoy your homemade masterpiece with family and friends.
How to Troubleshoot Common Homemade Fry Problems
Even skilled cooks face problems when making homemade fries. Fix small mistakes between batches instead of trying to save a ruined pot.
Soggy or greasy fries usually have a few common causes. Wet potato slices or an overcrowded pan can lower the oil temperature. Skipping the second fry also creates limp pieces instead of a crunchy snack.
Burned edges with undercooked centers often mean your potatoes were cut unevenly. This problem can also result from oil that is too hot or potato sticks that are too thick.
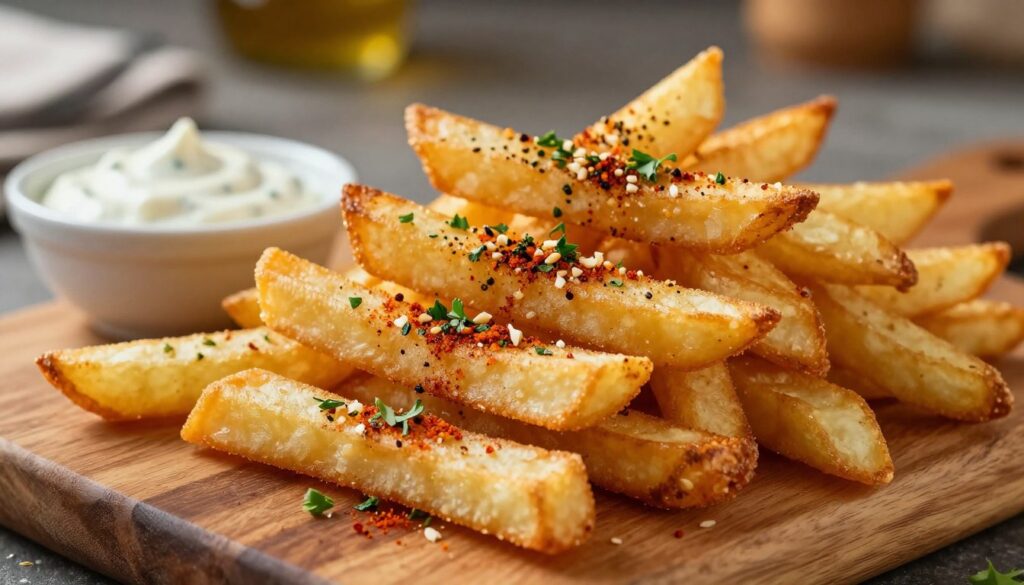
Oil splatter is a common problem, so follow safe cooking habits. Dry potato slices fully before they touch hot oil. Lower the basket or slices carefully, keep the right oil depth, and keep water away.
Keep finished fries warm without trapping steam. Place a wire rack over a baking sheet, then put both in a low oven. Do not cover the fries tightly with foil.
Always remember that seasoned fries taste best when served promptly. These small process changes will vastly improve your next cooking adventure and deliver amazing results.
Seasoning, Serving, and Gourmet Variations
Transforming your crispy golden batch into gourmet fries is surprisingly simple. You can elevate a casual weeknight dinner or weekend party snack into something truly special with the right flavor combinations.
Start by pairing your creation with classic dips. Traditional favorites like ketchup, creamy ranch dressing, zesty barbecue sauce, and tangy honey mustard never disappoint. To impress guests, offer garlic aioli, mayonnaise, or splashes of malt vinegar.
You can turn your side dish into stunning gourmet fries with unique toppings. Add freshly grated Parmesan cheese, chopped fresh herbs, caramelized onions, or a tiny drizzle of truffle oil used sparingly. For a heartier option, add shredded cheese, crispy bacon bits, or sliced jalapeños.
Many home cooks love experimenting with popular fries seasoning blends. Try tossing your hot batch in a mix of garlic Parmesan, smoky paprika, Cajun spice, or ranch seasoning. A dust of salt combined with vinegar powder also delivers a mouthwatering tang.
Always remember to add wet toppings shortly before serving so the dish does not become soggy. You want your snacks to maintain that satisfying crunch you worked hard to achieve.
These versatile sides pair wonderfully with juicy burgers, grilled steak, fried chicken, and classic hot dogs. They also complement fish sandwiches and hearty plant-based meals.
The secret lies in finding the right balance. Always choose toppings that complement the potato without hiding its wonderful crisp texture.
Storing, Freezing, and Reheating Leftover Fries
Leftover famous fries may lose their original magic, but proper storage and quick reheating restore plenty of their crave-worthy crunch. Allow your potatoes to cool briefly, then place them in a shallow airtight container lined with a clean paper towel. Never seal them while they are steaming hot; trapped moisture makes the crust soggy.
For longer storage, freeze slices in a single layer on a baking sheet, then move them into a freezer-safe bag. You can prepare famous fries ahead by completing only the first-fry stage, cooling the batch, and freezing it for later.
Whenever you want a quick snack, avoid the microwave entirely. Reheat refrigerated or frozen potatoes in an air fryer or a hot oven, using a single layer for proper air circulation.
| Storage Method | Ideal Container | Best Reheating Tool |
|---|---|---|
| Refrigerator | Paper-lined shallow container | Air Fryer |
| Freezer | Freezer-safe zip bag | Convection Oven |
| Make-Ahead | Baking sheet for flash freeze | Hot Oil Fryer |
Conclusion
Making homemade snacks takes practice, but the rewards are worth the effort. You now know how to make devine french fries in your own kitchen. Choose starchy potatoes, cut them carefully, and soak away excess sugars for better results.
Trust your senses while cooking instead of watching the clock. Look for a golden color and listen for a crisp sound. Handle hot oil carefully, work in small batches, and put safety first to keep the temperature steady.
Finish each batch with classic sea salt, spicy rubs, or rich dipping sauces. Choose flavors that match your mood. Each plate of devine french fries can impress family and friends with restaurant-quality taste at home.