


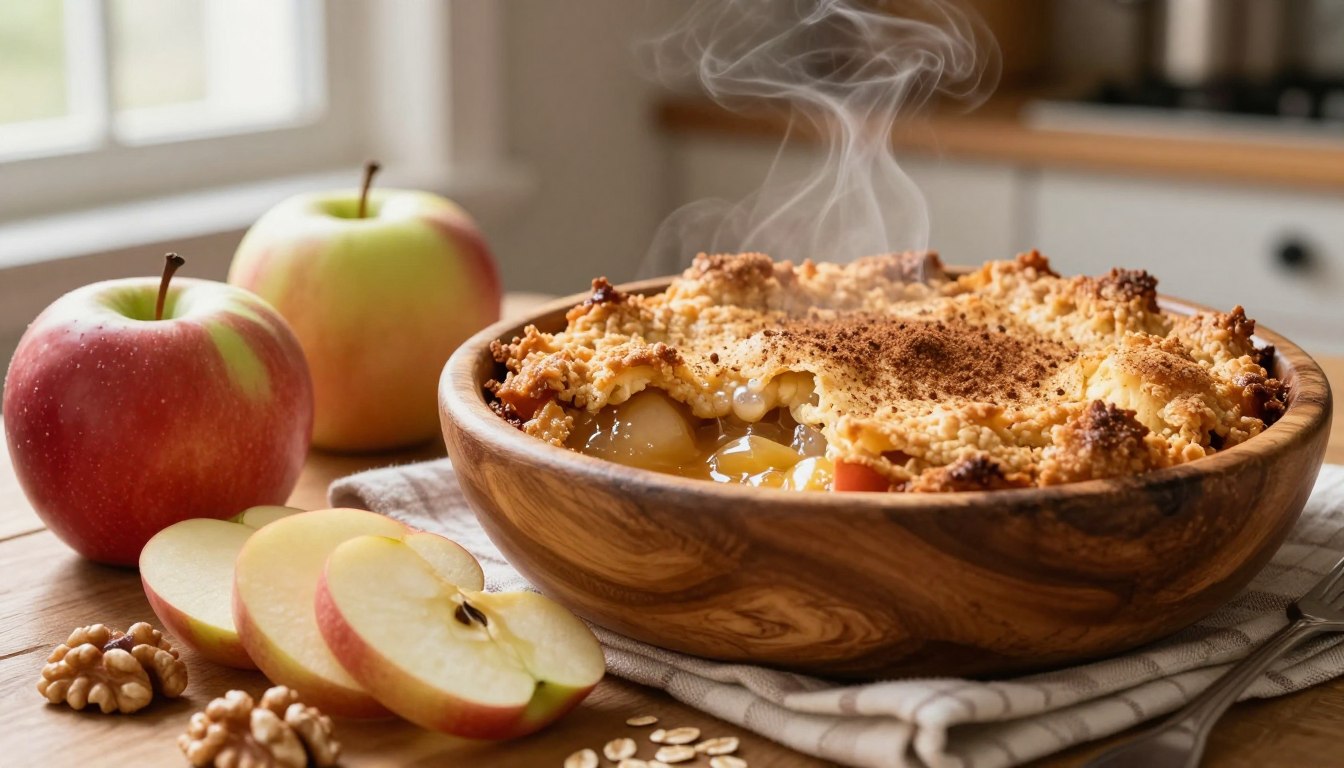
Nothing matches the comforting aroma of fruit and cinnamon filling your kitchen on a chilly afternoon. You deserve pure relaxation, and our favorite baked dessert brings that cozy feeling to your table. Making magic in your kitchen does not require fancy tools or complicated culinary skills.
You can easily make a sensational apple crisp from scratch with simple ingredients and reliable baking steps. This approachable guide helps you feel like an expert home cook from the first slice.
Enjoy the delightful contrast between tender fruit slices and a buttery oat topping baked to golden perfection. We will show you how to pick the best fruit, mix the filling, and bake until it bubbles. Finally, learn to serve your apple crisp with favorite toppings and store leftovers.
Table of Contents
What Makes This Apple Crisp the Best Homemade Dessert
You can make a memorable homemade dessert without spending hours learning complex pastry skills. This best apple crisp tastes bakery-worthy and suits home cooks at any skill level.
Skip traditional pie crusts to save time while enjoying rich, comforting autumn fruit flavors. This foolproof dessert suits busy weeknights, fall gatherings, and casual family meals.
How Tender Apples and a Buttery Oat Topping Work Together
The magic of the best apple crisp comes from the contrast between warm fruit and a crunchy topping. Sliced apples soften while baking but keep enough structure for a pleasant bite.
Butter, oats, flour, brown sugar, and cinnamon form a crumbly topping as they bake. It creates crisp edges and a tender, buttery center around every fruit piece.
What You Can Expect From This Easy Apple Crisp Recipe
Preparation is simple, with basic knife work, one simple filling mixture, and one bowl for the topping. Mix everything and bake it in one dish for easy cleanup.
The final texture may vary slightly because of several key factors:
- Your choice of apple variety
- The uniform thickness of your fruit slices
- Your specific oven temperature
- The amount of resting time before serving
Consider these details, and you can pull a warm, golden dessert from your oven every time.
Ingredients for Homemade Apple Crisp
A delicious homemade apple crisp needs fresh fruit and basic pantry staples. Use two main groups: the fruit base and crunchy crust.
Ingredients for the Apple Filling
The filling uses fresh fruit, acid, and light thickeners. This mixture stays juicy without becoming watery.
Choosing Apples That Hold Their Shape
Choose firm baking apples, such as Granny Smith, Honeycrisp, Pink Lady, or Braeburn. Mix tart and sweet varieties for deeper flavor.
Balancing Sweetness, Tartness, and Warm Spices
Toss sliced apples with lemon juice, granulated or brown sugar, and flour or cornstarch. Add cinnamon, plus optional nutmeg and vanilla extract, for warmth.
Ingredients for the Apple Crisp Topping
The apple crisp topping contrasts with the tender fruit below. Each ingredient helps create a golden, crunchy topping.
Using Rolled Oats for Texture
Old-fashioned rolled oats give this dessert a hearty texture. They work better than quick oats because they create a rustic crumble.
Combining Flour, Brown Sugar, Butter, and Cinnamon
Mix all-purpose flour, dark brown sugar, cinnamon, and a pinch of salt. Cut in cold, unsalted butter until coarse crumbs form.
Optional Ingredients and Substitutions
Tailor this recipe to your dietary needs or pantry inventory. Simple swaps can change the bake’s moisture, sweetness, or texture.
| Ingredient Category | Standard Option | Substitution Idea | Impact on Recipe |
|---|---|---|---|
| Nuts | None | Pecans or walnuts | Adds extra crunch and nutty flavor |
| Sweetener | Brown sugar | Maple syrup | Introduces a rich, distinct autumn flavor |
| Flour | All-purpose flour | Gluten-free blend | Makes the dessert friendly for celiac diets |
| Butter | Unsalted dairy butter | Plant-based butter | Provides a vegan-friendly fat source |
Kitchen Equipment and Preparation Checklist
Gathering your tools starts any easy apple crisp recipe. The right gear saves time and keeps your kitchen work smooth. Gather every essential tool before preparing the apples.
Recommended Baking Dish and Mixing Tools
You need a sturdy cutting board, a sharp chef knife, and a vegetable peeler. Use measuring cups and spoons for accurate amounts. Keep two mixing bowls and a pastry cutter nearby.
- Sturdy cutting board and sharp knife
- Vegetable peeler and measuring tools
- Two mixing bowls
- An 8-by-8-inch baking dish
A shallow baking dish helps apples cook evenly and gives the topping a crisp texture. A deeper dish may need more time in the oven.
Preparing Your Oven and Work Area
Fully preheat your oven before baking. Lightly grease the baking dish for easier serving later. Organize all ingredients before peeling the apples.
Cut apples can brown quickly while you prepare the topping. Place the baking dish on a sheet pan when it is nearly full.
Step 1: Prepare the Apples for Baking
Preparing fresh apples well creates the base for a delicious fall apple crisp recipe. This step helps each bite balance tender fruit and rich spices.
Wash, Peel, Core, and Slice the Apples
First, wash the fruit well under cold running water. Peel the apples for a softer, more even filling. Leave some skin on for extra color and a rustic bite, but scrub the fruit well.
How Thick to Slice Apples for Even Baking
Cut the fruit into even pieces about one-quarter inch thick. This size helps the apples soften without turning mushy in the oven.
Coat the Apples With the Filling Mixture
Place the sliced fruit in a large mixing bowl. Add lemon juice, sugar, spices, and thickener, then gently toss until evenly coated.
Preventing Watery or Overly Dry Apple Filling
Very thin slices can release too much liquid and ruin the dessert. Very thick slices may stay too firm during baking.
| Apple Cut Style | Baking Result | Texture Impact |
|---|---|---|
| Thin Slices | Releases excess liquid | Can become mushy |
| One-Quarter Inch | Softens evenly | Ideal tender bite |
| Thick Slices | Retains firmness | Remains too crunchy |
Arrange the Apples in the Baking Dish
Transfer the coated fruit and its juices to the greased baking dish. Spread the apples evenly without pressing them down. A slight mound is fine because the apples settle during baking.
Step 2: Make the Buttery Apple Crisp Topping
A well-made topping gives your dessert the right texture. A great apple crisp with oats balances crunchy streusel, rich flavor, and tender fruit.
Combine the Dry Topping Ingredients
Whisk the dry ingredients in a large mixing bowl. Combine rolled oats, all-purpose flour, brown sugar, ground cinnamon, and a pinch of salt.
Mix these ingredients thoroughly so their flavors spread through every bite.
Cut in the Cold Butter for a Crumbly Texture
Add chilled butter cut into small cubes. Work it into the dry mixture with a pastry cutter, fork, or clean fingertips.
Keep the butter as cold as possible. Warm or melted butter ruins the structure and makes your topping greasy and heavy.
Recognizing the Right Topping Consistency
Stop when the mixture forms irregular clusters and pea-sized pieces. It should make moist crumbs that hold when squeezed but break apart easily.
Add Optional Nuts or Flavor Enhancers
Improve your streusel by adding extra ingredients at the very end. Try chopped pecans, walnuts, sliced almonds, shredded coconut, orange zest, or a tiny pinch of cardamom.
Chop nuts evenly so they blend into the crumb texture. Avoid too many wet ingredients; extra moisture softens your crust during baking.
| Ingredient Type | Common Options | Preparation Tip |
|---|---|---|
| Dry Base | Rolled oats, flour, brown sugar | Whisk well to distribute |
| Fat Component | Cold unsalted butter | Cut into small, chilled cubes |
| Flavor Add-ins | Pecans, walnuts, cinnamon | Chop nuts into uniform sizes |
Step 3: Assemble and Bake the Apple Crisp
Turning prepared ingredients into a bubbling, golden dessert takes only a few careful oven steps. Watch visual and texture clues instead of relying only on a kitchen timer.
Distribute the Apple Crisp Topping Evenly
Scatter the crumbly mixture in an even layer over the fruit filling. Bring it near the baking dish edges, leaving no large areas of fruit uncovered.
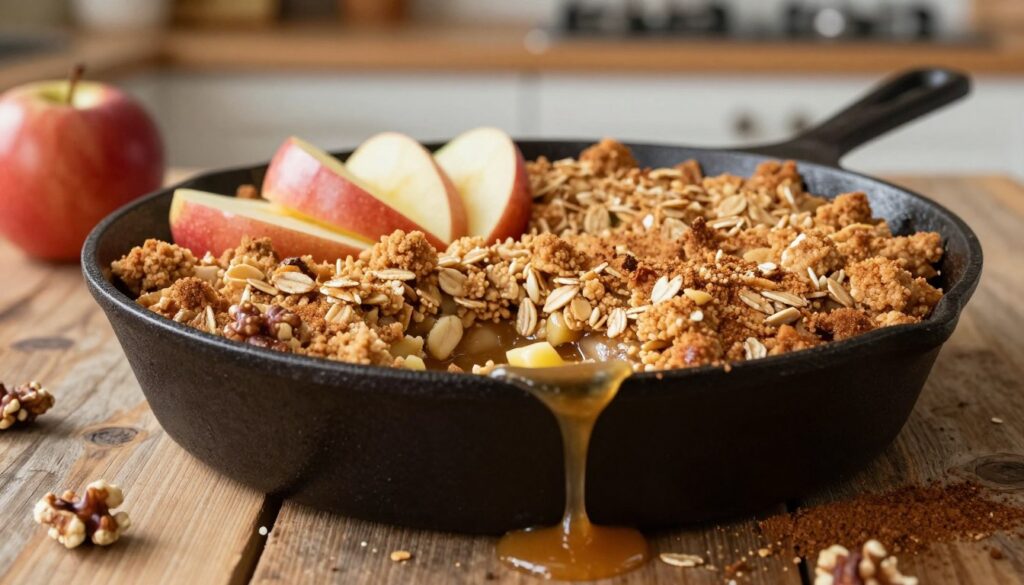
This coverage gives each bite tender fruit and crunchy oats. Do not press the mixture firmly; loose pockets create the ideal texture.
Bake Until the Apples Bubble and the Topping Browns
Place the dish in a fully preheated oven. Bake until rich fruit juices bubble vigorously around the sides and across the surface.
Total baking time depends on your dish size and apple variety. Slice thickness and overall filling moisture also affect how long the dessert needs to bake.
How to Tell When the Apples Are Tender
Test the center with a thin metal skewer. It should meet slight resistance, then pass through the slices without a hard crunch.
Protect the Topping if It Browns Too Quickly
If the oat surface darkens too quickly before the fruit softens completely, do not panic. Loosely drape aluminum foil over the dish, then keep baking until done.
Let the Crisp Rest Before Serving
Remove the hot dish from the oven and place it safely on a wire rack. Resist scooping out portions right away.
Why Resting Helps the Filling Thicken
Resting lets the bubbling juices cool slightly. This pause gives natural starches and thickeners time to form a spoonable sauce instead of a watery pool.
Step 4: Serve Warm Apple Crisp for the Best Experience
The magic begins when you serve this sweet treat while it is still warm. Let it rest briefly so bubbling fruit juices thicken and each scoop keeps its shape.
Serve Apple Crisp With Ice Cream
Nothing beats a warm apple crisp with ice cream on a cozy evening. A cold vanilla scoop slowly melts into the spiced fruit, creating a rich, creamy contrast.
Try Whipped Cream, Yogurt, or Caramel Sauce
For a different texture, top your dessert with lightly sweetened whipped cream or thick Greek yogurt. A drizzle of salted caramel sauce or pure maple syrup adds gourmet flavor.
Portion and Garnish the Dessert for Guests
Spoon generous portions into wide bowls, giving everyone soft fruit and crunchy topping. Place extra sauces in small pitchers so guests can customize their plates.
| Topping Option | Flavor Profile | Best Paired With |
|---|---|---|
| Vanilla Ice Cream | Rich and creamy | Classic warm desserts |
| Greek Yogurt | Tangy and light | Balanced sweetness |
| Caramel Sauce | Sweet and buttery | Extra indulgence |
How to Troubleshoot Common Apple Crisp Problems
A homemade dessert may not turn out as planned. A small texture or flavor problem does not mean the recipe failed. Simple changes can fix most kitchen mishaps.
Fixing Runny Apple Filling
Runny filling often comes from juicy fruit or too little thickener. Let the dessert rest longer so the juices cool and thicken. Add more starch next time.
Fixing Hard or Undercooked Apples
Hard apples often come from thick slices or low oven heat. Cover the dish with foil and bake longer. Softer baking varieties can also prevent this problem.
Fixing a Soggy or Soft Topping
Extra moisture or warm storage can soften a crisp oat topping. Cool the dessert uncovered on a wire rack. Reheat leftovers in the oven to restore crunch.
Fixing an Overly Sweet or Bland Crisp
Flavor balance depends on the fruit’s tartness and the spices you use. Adding a splash of lemon juice or a pinch of salt quickly corrects excess sweetness. Make small adjustments instead of adding a large amount of spice at once.
| Problem | Primary Cause | Quick Fix |
|---|---|---|
| Runny Filling | Excess juice or lack of thickener | Rest longer before serving |
| Hard Fruit | Thick slices or low heat | Cover with foil and bake longer |
| Soggy Topping | Trapped steam or warm storage | Reheat in oven uncovered |
| Bland Taste | Not enough salt or acid | Add lemon juice or a pinch of salt |
Storage, Reheating, and Make-Ahead Instructions
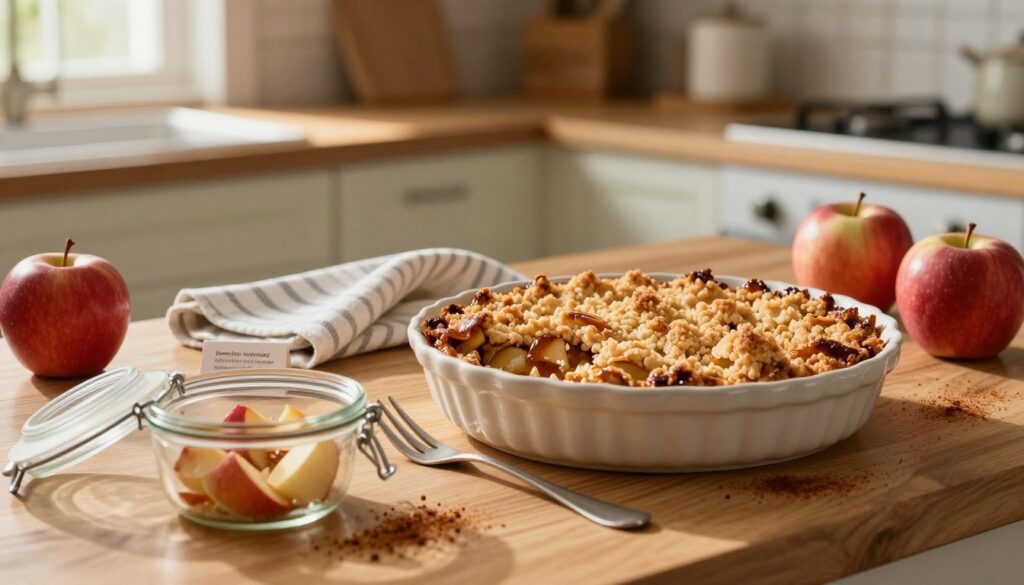
Proper storage keeps leftover dessert delicious the next day. It preserves the topping’s crisp texture and the fruit’s sweet flavor. Follow these guidelines to keep your dessert fresh and ready whenever cravings strike.
Cool and Store Leftover Apple Crisp Safely
Let the baked dish reach room temperature before sealing it. Trapped heat creates condensation and quickly ruins the crunchy oat topping.
Refrigerating the Baked Dessert
Cover the baking dish tightly with plastic wrap, or move portions into an airtight container. Refrigerate it for up to four days.
Freezing Apple Crisp for Longer Storage
Wrap the cooled dish securely in heavy-duty foil, or place it in a freezer-safe container. Freeze this sweet treat for up to three months before thawing it overnight in the refrigerator.
Reheat Individual Portions or the Full Baking Dish
For fresh-baked crunch, place your portion in a moderate oven or toaster oven at 350 degrees for about fifteen minutes. A microwave works much faster, but it makes the buttery topping significantly softer.
Prepare Components Ahead of Time
To save time on a busy day, mix the dry oat topping ahead and store it separately from the fruit. Always keep the components apart until you are ready to bake, because assembling too early makes the dry ingredients absorb moisture from the apples.
Ways to Customize This Fall Apple Crisp Recipe
Changing this traditional recipe creates many tasty options for your baking. You can alter the flavors while keeping juicy fruit and a crumbly topping.
Make a Classic Apple Crisp With Nuts
Add toasted pecans or walnuts for a tasty nutty variation. Toast them in a dry skillet first for deeper flavor and extra crunch.
Make an Apple Crisp With Extra Oats
For a heartier texture, add a modest amount of rolled oats. Keep enough flour and butter to bind the mixture into rich clumps.
Add Cranberries, Pears, or Seasonal Fruit
Tart cranberries add color and sharpness against the sweet apples. Pears bring floral sweetness, but seasonal fruit must be firm enough for high oven temperatures.
Fruit substitutions may change the amounts of sugar, lemon juice, or thickener. Different fruits release different amounts of moisture while baking.
Adjust the Recipe for Dietary Preferences
You can change this treat to suit health needs or lifestyle choices. Make one adjustment at a time to identify its effect on the final result.
Gluten-Free Ingredient Swaps
For a gluten-free version, use certified gluten-free oats. Also use a reliable gluten-free all-purpose flour blend in the topping.
Dairy-Free Ingredient Swaps
For a dairy-free version, replace dairy with plant-based butter made for baking. Check that it stays firm when chilled for the best crumbly texture.
Conclusion
Making homemade apple crisp is simple with the right steps and fresh apples that bake well in the oven. Mix the fruit with warm spices and a thickener for a rich filling. Next, cut cold butter into dry oats to make a crumbly topping.
Bake the dish until the fruit bubbles beneath a golden crust. Let the dessert rest before serving it. This short break thickens the sauce and makes portions easier to dish out.
Pair your warm dessert with vanilla ice cream, whipped cream, or a drizzle of caramel sauce. Leftovers store well in the refrigerator and reheat quickly for a fast weeknight treat.
You can easily adapt the recipe with chopped pecans, extra oats, or seasonal fruit like pears. This reliable method works well for family dinners and autumn gatherings.
FAQ
What are the best apples to use for a homemade apple crisp?
For the best texture and flavor, choose firm baking apples that hold their shape when heated. Granny Smith, Honeycrisp, Pink Lady, and Braeburn are great choices. Combine tart and sweet varieties for a complex, balanced flavor.
Why is my apple crisp filling runny, and how can I fix it?
A runny filling usually comes from juicy apples, too much liquid, too little thickener, or serving it piping hot. When making your fall apple crisp recipe, add a thickener such as flour or cornstarch. Let the crisp rest after baking so juices cool and thicken to a spoonable consistency.
Can I use quick oats instead of rolled oats for the apple crisp topping?
You can use quick oats in a pinch, but old-fashioned rolled oats make the best apple crisp topping. They give it a hearty, substantial texture and a much better crumble. Quick oats break down, making the topping softer and less distinct.
How do I store and reheat leftover apple crisp with ice cream?
After baked apple crisp cools completely, cover the dish tightly or use an airtight container. Freeze the dish for longer storage. Reheat portions or the full apple crisp with oats in a moderate oven, not a microwave, to keep topping crunchy.
How can I make this an easy apple crisp recipe for dietary restrictions?
You can adapt this easy apple crisp recipe for gluten-free or dairy-free diets. For gluten-free apple crisp, replace standard flour and oats with certified gluten-free alternatives. For dairy-free apple crisp, use plant-based butter formulated for baking; keep it chilled until cutting it into the topping.
