


This post may contain affiliate links. If you purchase through these links, we may earn a commission at no extra cost to you.
There is nothing like the warm, savory smell of traditional Jewish holiday cooking filling your kitchen on a chilly evening. You may remember gathering around the table, waiting for golden treats that crackle with each bite.
Making a perfect batch of Mom’s potato latkes requires no complicated ingredients or culinary school tricks. Careful technique matters more than fancy gear for wonderfully crisp edges and a tender middle.
You can serve this holiday favorite at a cozy family breakfast, weekend brunch, or comforting weeknight dinner. Success depends on three steps: shredding ingredients correctly, removing excess moisture, and frying in properly heated oil.
This guide explains each essential stage of frying Mom’s potato latkes. You will learn which equipment to use, how to prevent sogginess, and how to keep the batch warm and crisp. It also covers easy fixes for common cooking problems, so you can cook with confidence.
Table of Contents
Key Takeaways
- Master the three main steps: shredding, pressing out moisture, and using hot oil.
- Create treats that are wonderfully crisp at the edges and tender inside.
- Serve this traditional dish for holiday gatherings, weekend brunch, or weeknight dinners.
- Learn which ingredients and simple kitchen tools yield the best results.
- Prevent soggy batches by removing extra liquid before cooking.
- Discover practical tricks to keep your finished food warm and crunchy.
- Troubleshoot common frying mistakes with easy, expert solutions.
What Makes Mom’s Potato Latkes Crispy and Delicious
Before entering the kitchen, understand your cooking goal. Excellent homemade potato latkes are never thick, heavy, or soft.
Instead, they combine textures and flavors that bring everyone back for more. Let us examine the sensory details and cooking rules behind these memorable treats.
Define the ideal latke texture and flavor
Mastering this classic dish means aiming for a specific physical profile. Every bite should offer an exciting sensory experience.
Thin, lacy edges and a tender center
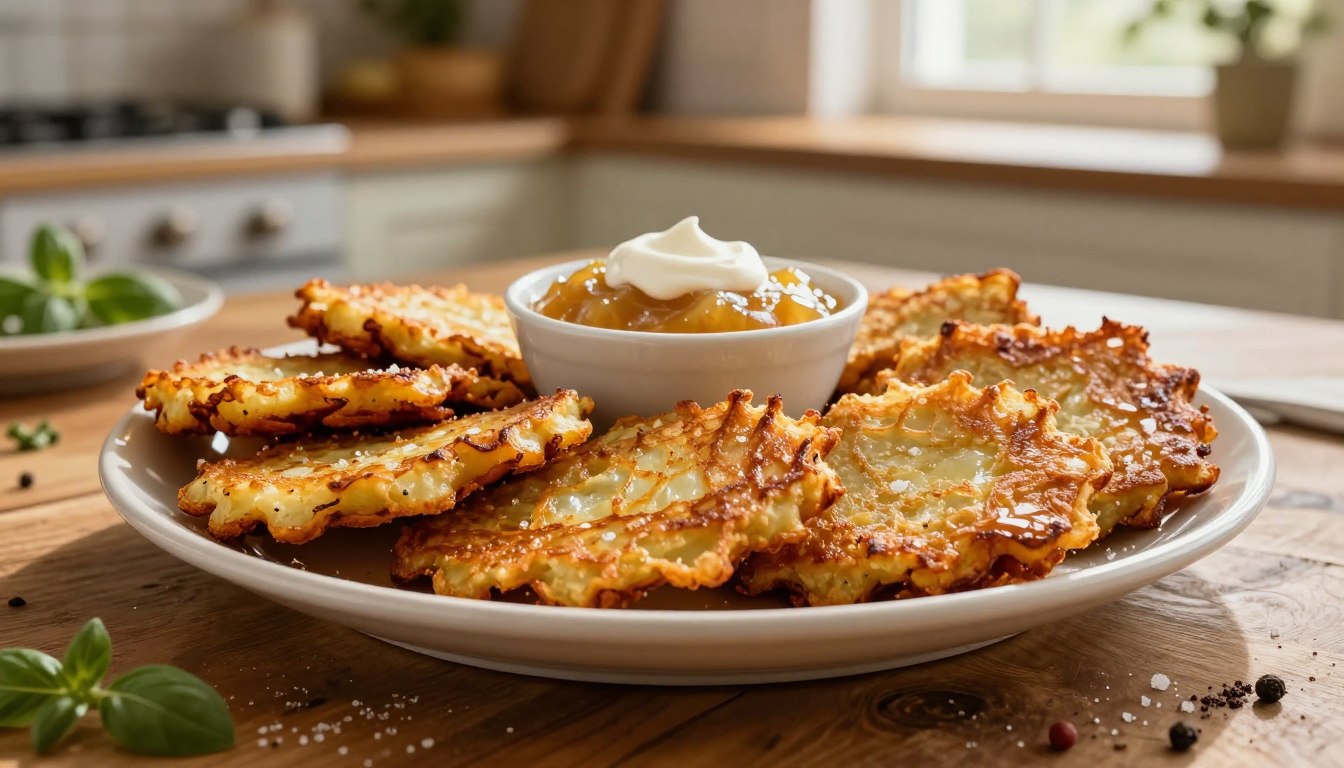
Finished pan-fried treats should have irregular, lacy outer borders. These delicate edges become audibly crisp when they touch hot oil.
Meanwhile, the inner core stays tender and holds together. This contrast creates a crisp crunch followed by a soft bite.
Golden-brown color and savory potato flavor
A successful batch has a rich, golden-brown surface that looks as good as it tastes. You will smell sweet onion and taste savory, well-salted potato.
Every element works together to create deep culinary satisfaction. The flavor remains simple but bold.
Explain the key techniques behind crispy latkes
Achieving this level of perfection does not depend on luck. It requires specific science and proper kitchen methods.
Remove as much moisture and starch liquid as possible
Water is the greatest enemy of crispiness in your skillet. Removing liquid from shredded vegetables helps natural starches bond properly.
Removing extra moisture supports better browning. This simple step changes a soggy pancake into a crunchy homemade potato latkes masterpiece.
Use properly heated oil and avoid overcrowding the pan
Your cooking oil must be hot enough to sear the batter immediately. However, it must not burn the outside before the center cooks.
Giving each piece enough skillet space prevents the oil temperature from dropping suddenly. Proper spacing helps food fry instead of steaming in excess grease.
Gather Ingredients, Equipment, and Toppings
To make your traditional latke recipe, gather the right items first. An organized workspace makes cooking smoother.
Choose the best ingredients for homemade potato latkes
Russet potatoes for high starch and crisp edges
Choose Russet potatoes for this traditional latke recipe. Their high starch content creates crisp edges and helps the mixture hold together.
Yellow onion for sweetness and traditional flavor
A simple yellow onion adds pleasant sweetness and savory depth without overpowering the potato flavor.
Eggs, matzo meal or flour, salt, and pepper for binding
Use eggs, matzo meal or a little flour, kosher salt, and freshly ground black pepper. This binder supports the mixture without making it heavy.
Neutral frying oil with a high smoke point
Choose canola, vegetable, or peanut oil. Each option has a suitable smoke point for safe frying.
Prepare the necessary equipment
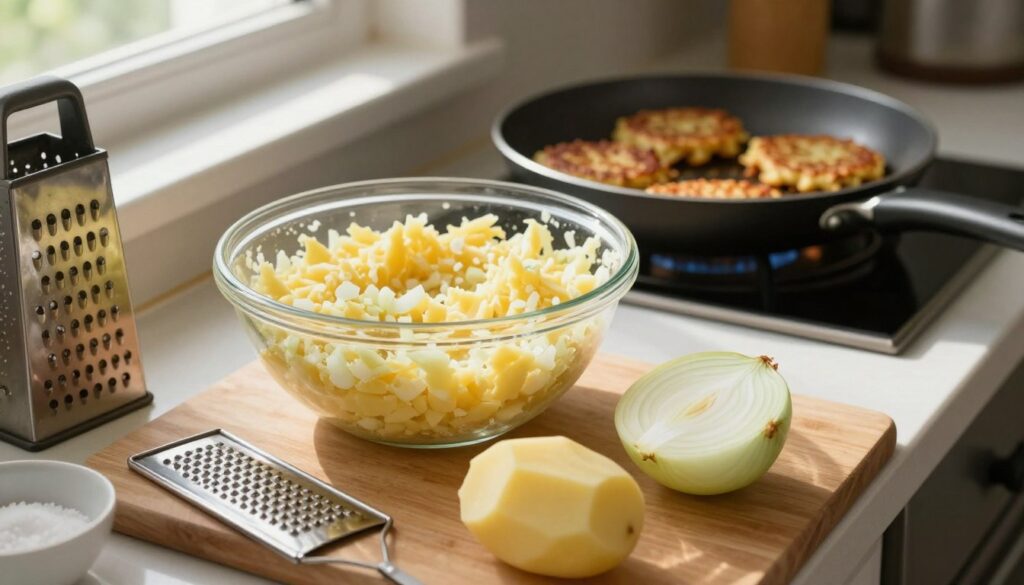
Box grater or food processor with a shredding disk
For this traditional latke recipe, use a large-hole box grater or a food processor with a shredding disk. Either tool creates the ideal texture.
Clean kitchen towels, a mixing bowl, skillet, and thermometer
Keep clean cotton towels, a spacious bowl, a heavy skillet, and a candy thermometer nearby.
Wire rack and baking sheet for draining and holding latkes
Place a wire rack over a baking sheet. It works better than paper towels because air can circulate.
Plan classic toppings and accompaniments
Sour cream and applesauce for traditional serving
Serve your traditional latke recipe with classic sour cream and applesauce.
Fresh herbs, smoked salmon, or chives for optional variation
Add fresh herbs, smoked salmon, or chives for a fun flavor variation.
| Category | Item Name | Primary Purpose |
|---|---|---|
| Ingredient | Russet Potatoes | Provides natural starch and crisp texture |
| Equipment | Box Grater | Shreds potatoes and onions evenly |
| Topping | Applesauce | Offers a sweet, traditional contrast |
1. Prepare the Potatoes and Onion
Turning raw potatoes and onions into crispy Jewish potato pancakes starts with careful preparation. Every single step affects the final texture. Follow these methods for the best results in your kitchen.
Peel and rinse the potatoes
Wash your raw potatoes well under cold running water. Use a sharp peeler to remove rough or dirty skin. A little clean skin is fine for a rustic style.
Remove eyes, blemishes, and excess peel
Use your peeler’s tip to remove dark spots, sprouts, and deep eyes. These flaws can give your homemade treats a bitter taste.
Keep peeled potatoes submerged briefly to prevent browning
Starch reacts quickly with air and turns pink or gray. Place peeled potatoes in cold water if you are not grating them soon.
Dry the potatoes before grating
Remove the potatoes from the water and pat them completely dry with paper towels. Surface moisture prevents crisp Jewish potato pancakes when frying.
Grate the potatoes and onion together
Now build the base of your meal. Combine the potatoes with a yellow cooking onion for an authentic, savory flavor.
Use the large holes of a box grater for textured shreds
Pull each potato down the large holes of a metal box grater. This makes long strands that fry into irregular, crunchy pieces.
Grate onion between batches of potato to reduce discoloration
Grate onion pieces between batches of potatoes. Onion juices help slow the oxidation process.
Use a food processor carefully without turning the mixture into puree
A shredding disk can save your arms. Pulse the ingredients, so they do not become watery baby food.
Keep the shreds loose rather than compacting them
Let the grated mixture rest loosely in the bowl. Fluffy shreds help your Jewish potato pancakes stay light.
Protect your hands and work efficiently
Kitchen safety and speed matter during this active stage. Work quickly while protecting your fingers from sharp blades.
Use the grater guard or hold ingredients securely
Protect your knuckles with a food holder, or stop before reaching the tuber’s end. Safety comes first when making traditional Jewish potato pancakes.
Work quickly so the potatoes do not become gray or watery
Stay at your station after grating begins. Quick movements keep the ingredients fresh and manageable.
Do not rinse the grated mixture, because natural starch helps bind the latkes
Do not rinse the shredded potatoes. Their sticky starch acts as glue and holds the latkes together in the hot pan.
| Tool Option | Texture Result | Speed | Best For |
|---|---|---|---|
| Box Grater | Coarse and uneven | Moderate | Traditional crunch |
| Food Processor | Uniform shreds | Fast | Large family batches |
| Fine Microplane | Pasty puree | Slow | Not recommended |
2. Drain the Mixture Thoroughly for Crispier Latkes
Water prevents crispy latkes. Without draining, potatoes steam instead of frying in hot oil.
Transfer the grated mixture to a towel
Start with the right fabric. Handle the batch carefully before moving it to the skillet.
Use a clean, tightly woven kitchen towel or cheesecloth
Select a smooth fabric that securely holds the shreds.
Work in manageable batches if the mixture is large
Divide a large mixture into halves to make the work easier.
Avoid paper towels, which can tear and leave lint behind
Avoid paper towels because they tear and leave lint. They can stick to wet shreds and ruin the batter.
Squeeze out excess liquid
Your muscles do the heavy lifting here. Remove every drop of water for the best texture and success.
Twist the towel firmly over a bowl or sink
Twist the towel firmly over a bowl or sink. Apply steady pressure to remove as much juice as possible.
Continue squeezing until the mixture feels noticeably drier
Keep squeezing until the mixture feels noticeably drier. The potato shreds should feel almost dry to the touch.
Repeat with the remaining potato and onion mixture
Repeat the process with the remaining potato and onion mixture. Use the same firm pressure for every batch.
Explain why moisture is the main enemy of crisp latkes
Excess water creates steam, causing soggy, greasy latkes instead of crispy latkes.
Recover and use the settled potato starch
Do not waste the natural binders released during draining. Capture them to improve binding.
Let the squeezed liquid rest until white starch settles at the bottom
Let the squeezed liquid rest until white starch settles at the bottom. This takes a few minutes and separates the liquid from the starch.
Pour off the brown liquid carefully
Carefully pour off the brown liquid. Discard the dark water without disturbing the white layer below.
Scrape the starch into the drained potato mixture
Scrape the starch into the drained potato mixture. Fold this sticky binder back into the main bowl.
Discard the liquid and avoid adding excess water back to the batter
Discard the liquid, and do not add excess water back to the batter. Keep the batter thick for crispy latkes.
| Drainage Tool | Pros | Cons |
|---|---|---|
| Kitchen Towel | Strong, reusable, squeezes tightly | Requires washing afterward |
| Cheesecloth | Fine weave, highly effective | Can be flimsy if single-layered |
| Paper Towel | Easy cleanup | Tears easily and leaves lint |
3. Mix the Batter Without Making It Heavy
To master how to make latkes, mix the ingredients carefully for a light, delicate texture. The batter must hold together in hot oil while staying light and easy to spread.
Combine the drained potatoes and onion with the binders
Add beaten eggs for structure and moisture
Eggs act as the main glue for the shreds. They add moisture and help bind the mixture without making the dish heavy.
Use matzo meal for a traditional flavor and sturdy texture
Matzo meal is the classic choice for authentic flavor. It absorbs extra moisture and adds a mild, toasted taste.
Use a small amount of all-purpose flour when matzo meal is unavailable
Regular flour is a useful backup when matzo meal is unavailable. Use only a little, or your pancakes may become dense.
Season with kosher salt and freshly ground black pepper
Generous seasoning brings out the earthy potato flavor. Stir kosher salt and freshly ground black pepper into the bowl for balanced flavor.
Mix gently and check the consistency
Fold until the ingredients are evenly distributed
Fold the mixture gently instead of stirring it hard. This protects the delicate structure of the shredded potatoes.
Keep the mixture loose enough to spread in the skillet
The batter should feel loose and wet. That texture helps you flatten it into thin, lacy pancakes.
Add a little more matzo meal only if the batter looks excessively wet
Add a little more matzo meal only when liquid pools heavily. Too much dry ingredient makes heavy, cakey results.
Fry the batter soon after mixing
Stir the bowl periodically so liquid does not collect at the bottom
Potatoes naturally release water while they sit. Stir the bowl briefly before scooping each new batch.
Do not let the batter sit long enough to become watery
Move the mixture straight to the hot pan. Working quickly keeps the vegetables from becoming soggy.
4. Heat the Oil and Skillet Correctly
Heat control and oil depth help you make the best latke recipe successfully. Each batch depends on cookware that holds steady heat while frying.
Choose the right pan and oil depth
Use reliable tools to prevent burning or excess oil. Your cooking setup supports the best results.
Use a heavy skillet for even heat distribution
Choose a heavy skillet, such as cast iron. Thick-bottomed pans hold heat steadily and recover quickly.
Add enough oil to coat the bottom generously without deep-frying
Pour enough oil to cover the pan’s base. Use a shallow layer, not a deep pool.
Choose canola, vegetable, or peanut oil for reliable frying
Choose neutral oils with high smoke points. Canola, vegetable, and peanut oils work well here.
Bring the oil to the proper temperature
The right oil temperature keeps your latkes light and crisp instead of soggy.
Heat the oil to approximately 350–375°F
Check the temperature closely with a kitchen tool. A range of 350 to 375 degrees works best.
Test with a small amount of batter if you do not have a thermometer
Drop a tiny amount of potato mixture into the skillet. It should sizzle at once.
Look for immediate sizzling without smoking
Listen for a steady sizzle. If smoke appears, lower the heat right away.
Prevent temperature drops before frying
Control your cooking pace to keep the pan from cooling too quickly.
Preheat the pan fully before adding batter
Let the skillet become hot before adding anything.
Fry in batches so the oil stays hot
Cook small portions at a time to maintain high heat.
| Equipment / Oil Type | Target Temperature | Frying Method |
|---|---|---|
| Cast Iron Skillet | 350–375°F | Shallow Fry in Batches |
| Canola or Peanut Oil | Medium-High Heat | Single Layer Turn |
| Heavy-Bottom Pan | Tested with Batter Sizzle | Controlled Portions |
5. Fry Mom’s Potato Latkes Until Golden Brown
This exciting step turns raw potato shreds into magnificent golden brown latkes. Control the heat and timing for a crisp bite every time.
Shape and portion each latke
Careful portions help latkes cook evenly without crowding the pan. Take your time for professional results.
Scoop a small amount of batter using a spoon or quarter-cup measure
Use a spoon or quarter-cup measure to scoop a neat, even portion. Make each pancake the same size.
Place the batter carefully into the hot oil
Slide the batter gently into hot oil to prevent dangerous splashes.
Flatten each mound into a thin, even pancake
Press each mound lightly into a thin disk. This helps it cook evenly.
Leave space between latkes for proper browning
Leave room around each pancake so the oil stays hot and circulates freely.
Cook the first side without disturbing it
Patience helps create crisp golden brown latkes. Let the heat work without disturbing the pan.
Fry until the edges look crisp and deeply golden
Fry until the edges look crisp and deeply golden. Wait for a rich, dark amber color before moving them.
Wait for the underside to release naturally before turning
Wait until the underside releases naturally. A cooked latke should slide from the pan when ready.
Avoid pressing the latkes, which can make them dense
Do not press the latkes. Squeezing out air can make them dense and ruin their texture.
Adjust the heat if the edges brown too quickly
Turn down the burner if the edges darken before the center cooks.
Flip and finish the second side
When the first side is ready, carefully flip the latkes. Cook both sides evenly for a crisp exterior.
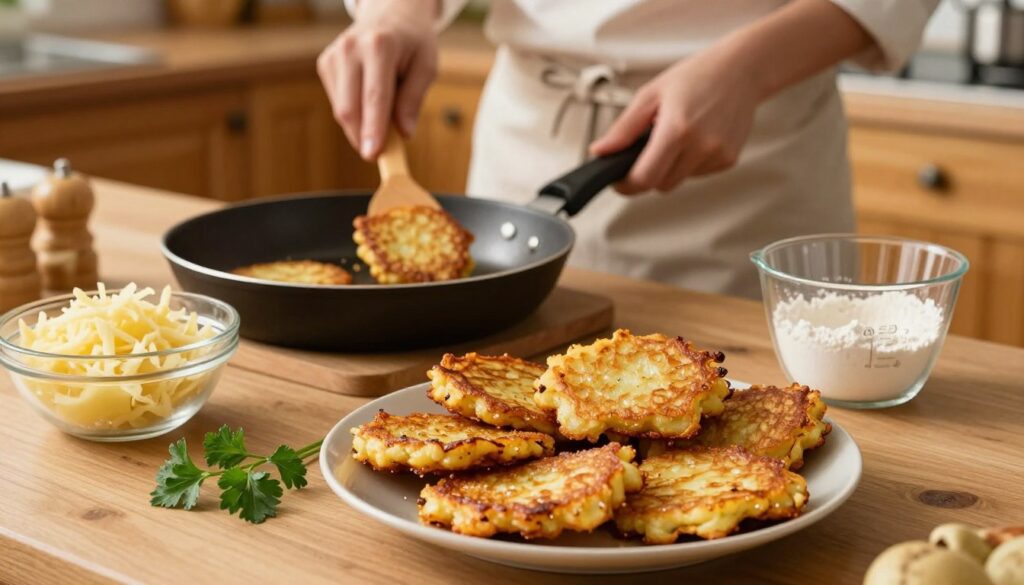
Turn carefully with a wide spatula or slotted turner
Slide a wide spatula or slotted turner underneath. Flip the pancake with a gentle motion.
Cook until both sides are crisp and evenly browned
Cook the second side until its color matches the first side.
Keep the total cooking time appropriate for the thickness of each latke
Match the total cooking time to each latke’s thickness. Use visual cues, not a clock, to check the centers.
Drain the finished latkes correctly
Proper drainage keeps golden brown latkes light and protects their crisp texture. It also stops excess grease from making them heavy.
Transfer latkes to a wire rack rather than stacking them on paper towels
Set cooked pancakes on a wire rack so air circulates beneath them.
Season lightly with salt while they are still hot
Sprinkle a pinch of salt over the hot surface so it sticks well.
Allow excess oil to drip away before serving or holding
Let excess oil drip away for one minute before serving or holding.
Maintain consistent results between batches
Consistent results set skilled cooks apart during busy frying sessions. Small adjustments keep the oil working well.
Stir the batter before scooping each new portion
Stir the batter before each new scoop. Quickly redistribute liquid pooled at the bottom.
Remove burnt crumbs from the oil between batches
Scoop out stray bits with a slotted spoon so they do not taint the next batch.
Adjust the burner to keep the oil near the target temperature
Keep the oil near its target temperature by adjusting the burner. Restore heat lost during the previous flip.
| Batch Stage | Key Action | What to Avoid |
|---|---|---|
| Portioning | Use a uniform scoop size | Overcrowding the skillet |
| First Side | Wait for natural release | Pressing down on the batter |
| Flipping | Use a wide spatula | Rushing the cook time |
| Draining | Place on a wire rack | Stacking them in piles |
6. Keep Latkes Crisp and Serve Them Hot
With the right steps, your savory potato pancakes can stay as crisp as when they leave the skillet. When cooking for a crowd, use a reliable way to keep savory potato pancakes warm without harming their texture. Good airflow and temperature control can improve the final batch.
Hold fried latkes in the oven
To manage a large batch, store your savory potato pancakes properly while you finish cooking. These simple adjustments keep the meal fresh and tasty.
- Place them in a single layer on a wire rack over a baking sheet: This setup lets cool air circulate underneath, preventing soggy bottoms.
- Use a low oven to keep them warm without overbrowning: Set your appliance to a gentle heat so the food stays hot without burning.
- Do not cover them tightly, because trapped steam softens the crust: Letting moisture escape is the secret to keeping that wonderful crunch intact.
Reheat latkes without losing their texture
Leftover or make-ahead savory potato pancakes need careful reheating to regain their crisp texture. Microwaves trap moisture and ruin the dish, so use dry heat instead.
- Use a hot oven or toaster oven instead of a microwave: Dry heat revitalizes the crust much better than wet heat.
- Reheat in a single layer until the edges become crisp again: Give every piece enough room to breathe and sizzle.
- Allow a little extra time for thick latkes: Denser portions need a few extra minutes to heat all the way through.
Add traditional toppings just before serving
Timing matters as much as temperature when you plate your food. Keep your condiments separate until the very last second.
- Serve sour cream and applesauce on the side: Let your guests customize every single bite to their liking.
- Offer toppings separately so the crust stays crisp: Adding wet ingredients too early will destroy your hard work.
- Garnish with chives or dill for color and freshness: A sprinkle of green adds a pop of bright flavor to the plate.
7. Fix Common Latke Problems
Traditional frying takes practice, and even skilled home cooks face problems. Good latke troubleshooting means adjusting moisture, pan heat, and portion size. A few small changes can rescue your batch and create crisp, golden latkes.
Correct soggy or greasy latkes
Too much oil can turn homemade fritters into greasy latkes, costing them their crunch. Change your preparation and cooking methods during the next round.
Squeeze the potato mixture more thoroughly next time
Extra moisture is the main cause of soggy latkes. Use a clean kitchen towel to wring out all liquid before mixing.
Confirm that the oil is hot before adding batter
If the oil is not hot enough, potatoes absorb it like a sponge. Wait until the oil shimmers before adding your first portion.
Use a wire rack and avoid stacking freshly fried latkes
Paper towels help in a pinch, but trapped steam makes latkes soggy. Place hot fritters on a wire rack to keep them crisp.
Correct latkes that fall apart
Few things frustrate cooks more than loose shreds falling apart in the skillet. Latkes need the right binders and enough time to set.
Add a small amount of beaten egg or matzo meal
If the batter is loose, stir in a spoonful of matzo meal or an extra splash of beaten egg. These ingredients help hold the potato shreds together.
Make sure the potato shreds are not excessively wet
Water keeps the starches from binding. Dry potato shreds help the mixture hold together in the pan.
Wait until the first side is set before flipping
Flipping too soon can break the delicate edges. Wait until the bottom forms a deep brown crust before turning the latke.
Correct pale or unevenly browned latkes
Pale latkes often show that your cooking setup needs a small adjustment. Even color depends on heat control and enough room in the pan.
Raise the heat gradually rather than increasing it sharply
A sudden heat spike can burn the outside while leaving the center raw. Raise the burner in small steps for steady results.
Fry smaller, thinner portions for more even browning
Large, thick mounds keep heat from reaching the center. Use modest spoonfuls so each disc browns and cooks evenly.
Avoid overcrowding the skillet
Crowding the skillet quickly lowers the oil temperature. Leave plenty of space around each fritter.
Correct burnt edges and raw centers
If edges burn before the center cooks, the heat is probably too high. A few changes can restore balance to your frying pan.
Lower the heat when the outside browns too quickly
Lower the burner when the outside browns too quickly. This gives the potato center time to cook fully.
Flatten the batter more evenly in the pan
Use the back of your spatula to press each portion gently. Even thickness prevents hot spots and raw patches.
Check the oil temperature between batches
Oil temperature can change quickly during frying. Check your thermometer between batches to keep the cooking heat steady.
8. Follow Important Frying Safety Practices
Following latke frying safety keeps your kitchen safe as you make crispy treats. Stay focused with a hot skillet to protect yourself and your family.
Handle hot oil carefully
Hot oil needs care whenever you use the stove. Good hot oil safety helps you cook with confidence.
Keep water away from the skillet and hot oil
Water and hot oil react violently. Even one drop can cause dangerous splatters.
Add batter gently to prevent oil splashes
Lower each spoonful of potato mixture close to the oil’s surface.
Keep pot holders and a lid nearby in case of an oil flare-up
Keep your safety gear within arm’s reach.
Respond safely to an oil fire
Knowing what to do during an emergency can bring peace of mind.
Turn off the heat if it is safe to do so
Turn off the burner right away if you can reach it safely.
Cover the pan with a lid and never use water on burning oil
Covering the pan cuts off oxygen and smothers the flames.
Clean up after the oil cools
Proper cleanup keeps your kitchen safe after dinner.
Let used oil cool completely before disposing of it
Let the used oil cool completely. Never rush this process.
Never pour cooking oil down the drain
Pour cooled oil into a sealed container to protect your plumbing.
| Safety Rule | Primary Action | What to Avoid |
|---|---|---|
| Water Control | Keep ingredients dry | Never let water touch hot oil |
| Batter Placement | Lower gently with a spoon | Never drop batter from high above |
| Oil Disposal | Cool completely in a container | Never pour oil down the drain |
Conclusion
Great food at home starts with simple steps. Choose starchy potatoes, and grate them with fresh onion. Squeeze out all moisture for the best texture. Save the settled potato starch to bind the batter naturally without heavy additives.
Mix the ingredients gently just before cooking in hot oil. Keep finished batches warm on a wire rack in a low oven, so each piece stays remarkably crisp for guests. Serve the dish with classic sour cream and applesauce to complete the meal.
Control the thickness and browning to suit your personal taste. Careful preparation turns a basic root vegetable mixture into crisp, golden, delicious Mom’s potato latkes every time you cook.
