This post may contain affiliate links. If you purchase through these links, we may earn a commission at no extra cost to you.
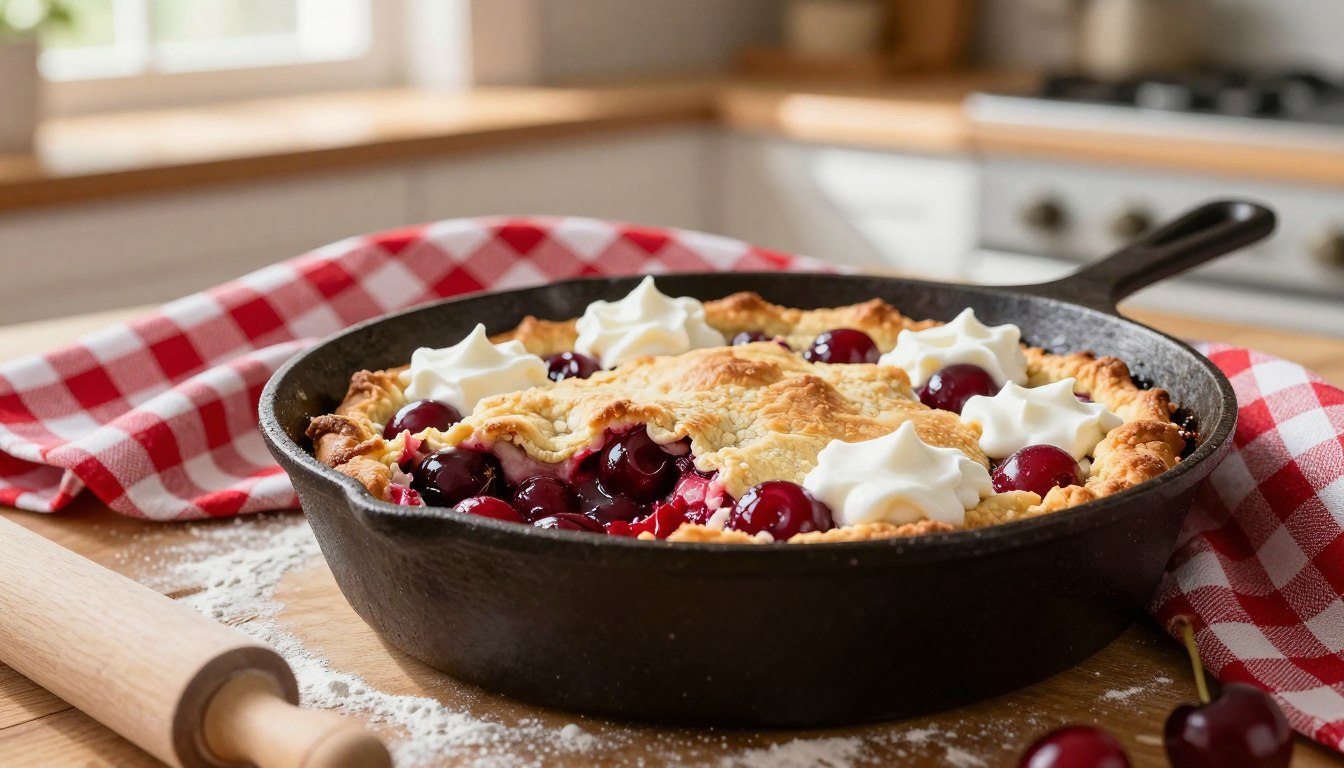
The smell of a fresh cherry cobbler baking is magical. It reminds us of warm summer days and family gatherings. Every bite is filled with joy and love.
Making a Fresh Cherry Cobbler is more than just mixing ingredients. It’s about creating a dessert that’s both sweet and tangy. You’ll learn how to turn simple cherries into a dish that everyone will love.
With the right techniques, your cobbler will always be perfect. Let’s start this delicious journey together. We’ll make a dessert that warms hearts and creates lasting memories.
Table of Contents
Why You Will Love This Easy Dessert Recipe
Making your own cherry cobbler has many perks. By baking from scratch, you control what goes into it. This means a fresher taste and a healthier treat for everyone.
This easy recipe lets you enjoy summer flavors with little effort. It’s a great way to make a delicious dessert without much work.
Homemade treats give you a sense of pride. You know you made something tasty without any preservatives. Plus, using fresh fruits boosts the flavor and health of your dessert.
Benefits of Homemade Treats
- Control over ingredients
- Fresher flavors
- Healthier options without preservatives
- Sense of accomplishment
Seasonal Appeal of Fresh Fruit
Fresh fruit is at its peak in summer. Cherries are ripe and full of flavor during this time. Using seasonal fruits in your dessert makes a big difference.
You’ll love the rich taste and vibrant colors of fresh fruit. It adds a special touch to your easy dessert recipe.
Selecting the Best Fruit for Your Cobbler
Choosing the right fruit is key for a tasty fruit cobbler with fresh cherries. The cherries you pick will greatly affect the taste. Look for cherries that are:
- Firm and plump
- Bright and vibrant in color
- Picked at the peak of ripeness
Knowing the different cherry varieties helps you choose the right sweetness for your recipe. Two popular types are:
- Bing Cherries – Known for their deep red color and sweet flavor.
- Rainier Cherries – Lighter in color with a delicate sweetness.
When picking cherries, check their firmness and size. A good cherry should feel heavy for its size and have a shiny skin. Stay away from soft or blemished cherries, as they can ruin your cobbler’s taste.
| Cherry Variety | Flavor Profile | Best Use |
|---|---|---|
| Bing | Sweet and juicy | Perfect for cobblers and pies |
| Rainier | Sweet with a hint of tartness | Great for fresh eating and desserts |
| Sour | Tart and tangy | Ideal for jams and savory dishes |
By picking the best cherries, you’re on your way to a delicious fruit cobbler with fresh cherries. Quality ingredients make for a memorable dessert.
Essential Tools for Your Kitchen
Having the right tools in your kitchen can make a big difference when baking your fresh cherry cobbler. The right equipment helps you achieve consistent results, ensuring your dessert turns out perfectly every time. Two essential tools stand out: a quality baking dish and efficient pitting tools.
Choosing the Right Baking Dish
Your choice of baking dish plays a crucial role in the baking process. A high-quality dish promotes even cooking, preventing burnt edges or undercooked centers. Here are some factors to consider:
- Material: Glass or ceramic dishes retain heat well.
- Size: Ensure it fits your recipe; a 9×13 inch dish is standard.
- Shape: Round or square dishes can affect cooking time.
Efficient Pitting Tools
Removing the pits from cherries can be a tedious task without the right tools. A reliable pitting tool makes this process quick and easy, preserving the fruit’s delicate flesh. Consider these options:
- Cherry Pitter: This handheld tool efficiently removes pits.
- Knife Method: A sharp knife can be used, but requires more skill.
- Batch Pitting: Some tools allow you to pit multiple cherries at once.
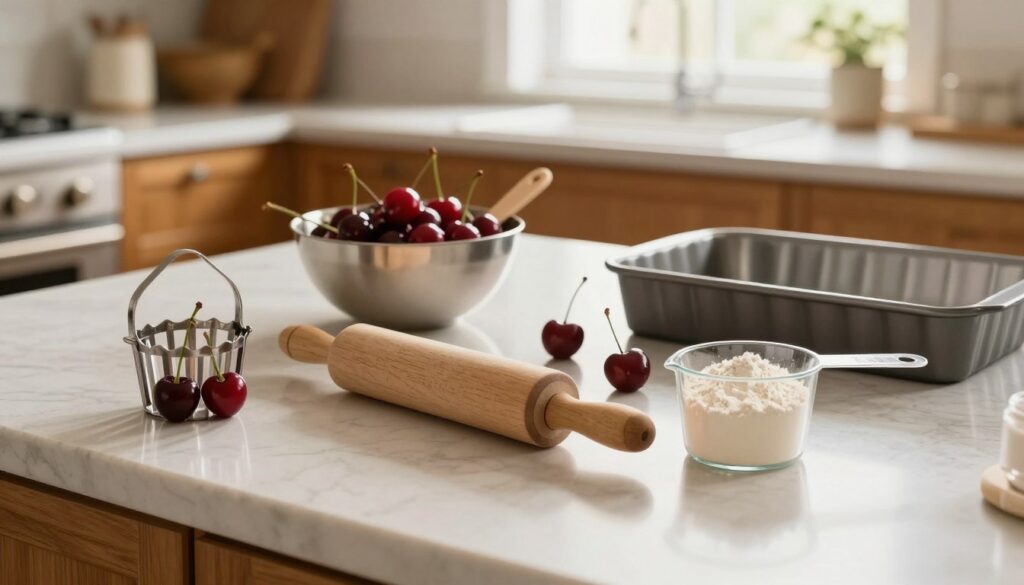
Investing in these essential tools will streamline your baking process and enhance your overall experience. With the right baking dish and pitting tools, you will be well on your way to creating a delicious cherry cobbler.
How to Make Fresh Cherry Cobbler
Making a delicious Fresh Cherry Cobbler is easy. Just follow this simple recipe to enjoy a sweet dessert with fresh cherries. Here’s how to make it with ease.
- Prepare the cherries: Start by washing and pitting your fresh cherries. This makes sure your cobbler has a sweet and juicy filling.
- Make the fruit base: In a bowl, mix the pitted cherries with sugar, lemon juice, and a bit of cornstarch. This will make a lovely sauce as it bakes.
- Mix the batter: In another bowl, whisk together flour, sugar, baking powder, and salt. Add melted butter and milk to make a thick batter.
- Combine: Pour the cherry mixture into a greased baking dish. Spoon the batter over the top for even coverage.
- Bake: Put the dish in a preheated oven. Bake until the crust is golden and the filling is bubbly.
Let your Fresh Cherry Cobbler cool a bit before serving. This lets the flavors blend beautifully. Enjoy it warm with vanilla ice cream for a special treat!
By following these simple steps, you can make a delightful dessert. It will impress your family and friends. The mix of tart cherries and sweet batter is perfect for summer.
Preparing the Cherries for Baking
Getting your cherries ready is key to a tasty cherry cobbler. Clean and pitted cherries boost the flavor and texture. Here’s how to prep them for baking.
Cleaning and Sorting
Begin by cleaning and sorting your cherries. This step removes dirt and unwanted items. Follow these steps:
- Rinse cherries under cold water to remove dirt and pesticides.
- Inspect each cherry carefully for stems, leaves, or any signs of damage.
- Discard any cherries that are overripe or bruised.
Proper Pitting Techniques
Pitting cherries can be a bit of work, but the right tools make it easier. A dedicated cherry pitter is best. Here’s a quick guide:
- Place the cherry in the pitter’s designated spot.
- Press down to remove the pit while keeping the cherry intact.
- Collect the pitted cherries in a bowl for your cobbler.
By following these steps, you’ll have cherries ready for a delicious cherry cobbler. Enjoy the process and relish the tasty outcome!
Crafting the Perfect Golden Crust
The crust is the heart of a great cherry cobbler. It’s buttery and golden, contrasting with the fruit filling. To make a crust that rises well, mix your ingredients carefully. The dough should be light and airy, not dense or gummy.
Here’s how to make a perfect crust:
- Start with cold ingredients. Use chilled butter and cold water for a flaky texture.
- Mix dry ingredients first. Combine flour, sugar, and baking powder in a bowl.
- Cut in the butter. Use a pastry cutter or your fingers to blend the butter into the flour until it resembles coarse crumbs.
- Add wet ingredients. Gradually mix in cold water until the dough holds together.
- Do not overwork the dough. Mix just until combined to keep the crust tender.
Once your dough is ready, roll it out and place it over the cherry filling. Bake until the crust turns a beautiful golden brown. This step is crucial for the best cherry cobbler recipe.
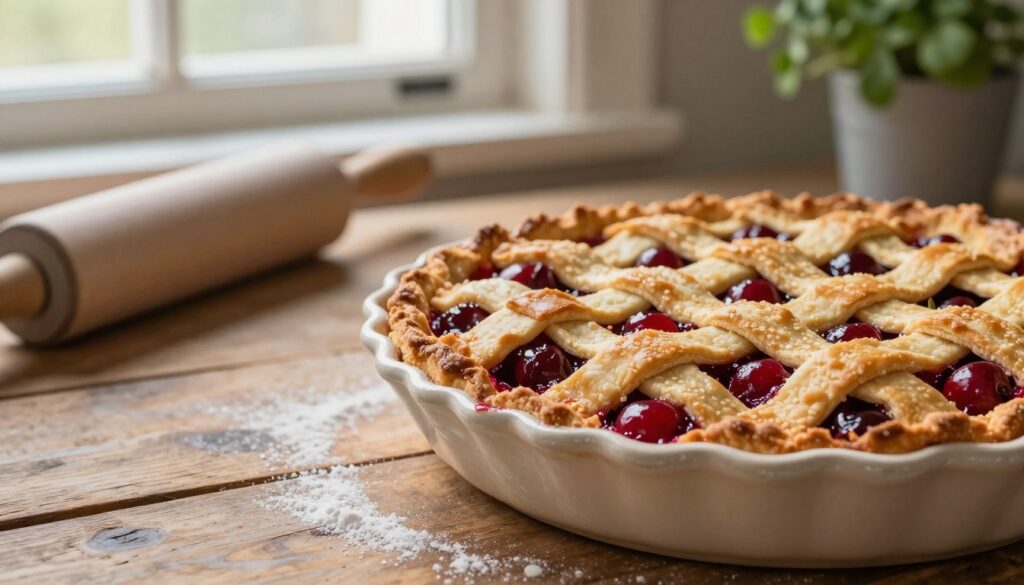
To give you a clearer idea of the perfect crust, here’s a comparison of crust types:
| Crust Type | Texture | Flavor |
|---|---|---|
| Flaky | Light and airy | Buttery |
| Dense | Heavy and gummy | Less flavorful |
Crafting the perfect golden crust can elevate your cherry cobbler. With practice, you will create a delightful dessert that everyone will love.
Tips for Achieving the Ideal Texture
Making the perfect cherry cobbler is more than picking the right fruit. It’s about getting the texture just right. This means using natural thickeners and controlling the oven temperature.
Using Natural Thickening Agents
To get a syrupy cherry filling, try these natural thickeners:
- Cornstarch: It thickens fast and makes the filling smooth.
- Arrowroot: It’s gluten-free and great for fruit desserts.
- Flour: A classic choice, but it might make the filling a bit cloudy.
Managing Oven Temperature
Getting the oven temperature right is key. It helps the crust turn golden and the filling cook evenly. Here’s how:
- Preheat your oven to 375°F (190°C) for the best results.
- Check with an oven thermometer to make sure the temperature is spot on.
- Flip your cobbler halfway through baking to cook it evenly.
Follow these tips to make a cherry cobbler that looks great and tastes amazing. It will have the perfect texture.
| Thickening Agent | Texture Result | Notes |
|---|---|---|
| Cornstarch | Smooth and glossy | Thickens quickly |
| Arrowroot | Clear and glossy | Gluten-free option |
| Flour | Cloudy | Traditional choice |
Serving Suggestions for Summer Fruit Desserts
Presenting your fresh cherry cobbler in an appealing way can make it a standout summer fruit dessert. Thoughtful presentation and toppings can boost both taste and looks. Here are some ideas to make your dessert shine:
- Warm with Ice Cream: Serve your cobbler warm with a scoop of high-quality vanilla bean ice cream. The creamy texture contrasts beautifully with the warm fruit.
- Fresh Whipped Cream: A dollop of freshly whipped cream adds a light, airy touch. This combination works well with the sweetness of the cherries.
- Powdered Sugar: A light dusting of powdered sugar gives your cobbler a professional finish. It enhances the visual appeal without overpowering the flavors.
- Fruit Garnish: Top with fresh mint leaves or a few whole cherries for a pop of color. This adds freshness and enhances the overall presentation.
These serving suggestions not only improve the look of your dessert but also enhance the experience of enjoying summer fruit desserts. Each option complements the natural sweetness of the cherries while providing different textures and flavors. Experiment with these ideas to find your favorite way to serve your cobbler.
Storing and Reheating Your Homemade Cherry Cobbler
Enjoyed your homemade cherry cobbler? You might have leftovers. Storing them right is key to keeping your dessert fresh. Follow these tips to keep your cobbler delicious for days.
Refrigeration Best Practices
To keep your cobbler fresh, store it in an airtight container. This stops it from picking up fridge smells. Here’s how:
- Let the cobbler cool completely before storing.
- Cover it tightly with plastic wrap or a lid.
- Consume within 3-4 days for the best flavor.
Freezing for Later Enjoyment
Freezing is a great way to enjoy your cobbler later. Here’s how to freeze it right:
- Wrap the cobbler tightly in plastic wrap.
- Place it in a freezer-safe container or bag.
- Label with the date to keep track of freshness.
- For best results, consume within 2-3 months.
Ready to enjoy your frozen cobbler? Thaw it in the fridge overnight. Then, reheat in the oven for a warm, comforting dessert. It’s like summer, any time of year.
Common Mistakes to Avoid When Baking
Baking a traditional cherry cobbler can be a delightful experience. Many bakers, though, face common pitfalls that can ruin their efforts. It’s key to avoid these mistakes to get a delicious result that wows everyone.
One common error is over-mixing the batter. This can make the crust tough instead of tender and biscuit-like. Also, using under-ripe fruit can impact the flavor and texture of your cobbler. Lastly, proper oven settings are vital, as wrong temperatures can cause uneven baking.
- Do not over-mix the batter.
- Use ripe cherries for the best flavor.
- Preheat your oven to the correct temperature.
- Ensure your baking dish is the right size.
By being mindful of these mistakes, you can master the art of making a traditional cherry cobbler. Here’s a table highlighting the common mistakes and their solutions:
| Mistake | Solution |
|---|---|
| Over-mixing the batter | Mix until just combined for a tender crust. |
| Using under-ripe fruit | Select ripe cherries for optimal taste. |
| Incorrect oven temperature | Always preheat your oven to the right setting. |
| Wrong baking dish size | Choose a dish that fits the recipe requirements. |
Knowing these common mistakes can help you make a traditional cherry cobbler that will impress your family and friends. With practice and attention to detail, you can make a perfect dessert every time.
Conclusion
Learning to bake a fresh cherry cobbler is a great skill to have. It’s versatile and can be used for many cherry desserts all year. Using top-notch ingredients and following the right steps makes your dessert both cozy and stunning.
This guide is meant to spark your interest in baking with fresh fruits. As you get better, you’ll feel more confident in the kitchen. Every cherry cobbler you make will improve your skills and introduce you to new tastes.
Love the journey of baking and share your creations with loved ones. Homemade desserts bring happiness and create special moments. Keep trying new cherry dessert ideas and make your kitchen a place of tasty memories.