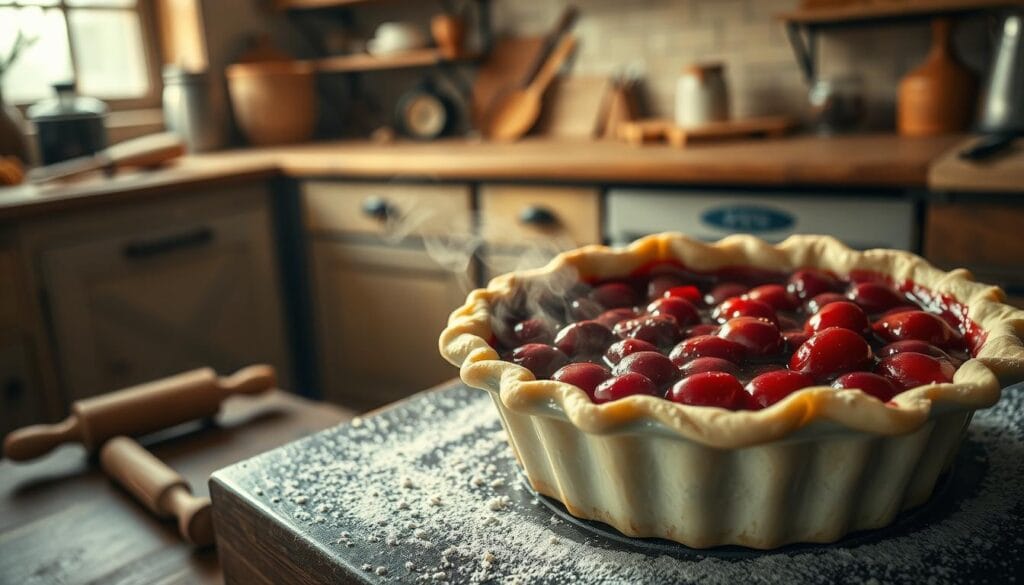
Growing up in my grandmother’s kitchen, the smell of a fresh cherry pie was always exciting. The golden crust and the ruby-red filling were more than dessert. They were memories being made with every slice and sprinkle of sugar.
Baking a homemade cherry pie is more than a recipe. It’s a way to connect generations and bring families together. It turns simple ingredients into a nostalgic treat. Whether you’re experienced or new to baking, making the perfect cherry pie is possible.
In this guide, I’ll show you how to make an amazing cherry pie. Your kitchen will smell like comfort. You’ll learn how to pick the best cherries and make a flaky crust. You’ll discover the secrets to a dessert that will become a family favorite.
Get ready for a tasty journey. We’re celebrating the timeless tradition of homemade cherry pie. This quintessential American dessert is always in style.
Table of Contents
Essential Ingredients for a Classic Cherry Pie
To make the best cherry pie, you need to know the key ingredients. These ingredients turn a simple dessert into a masterpiece. Start by picking the right parts to make your baking better.
Making a tasty cherry pie needs careful picking and prep of ingredients. The success of your pie comes from using top-notch ingredients that blend well together.
Selecting the Best Cherries for Your Pie
Choosing the right cherries is key for a classic cherry pie. You have three main choices:
- Fresh Cherries: Peak season cherries have the best flavor
- Frozen Cherries: A good choice for flavor all year
- Canned Cherries: Quick and easy for busy bakers
Must-Have Pantry Items and Baking Tools
Get your kitchen ready with these must-haves for the best cherry pie:
| Pantry Ingredients | Baking Tools |
|---|---|
| Granulated Sugar | 9-inch Pie Dish |
| Cornstarch | Rolling Pin |
| Vanilla Extract | Pastry Blender |
| Almond Extract | Pie Weights |
Understanding Different Types of Pie Crusts
Your pie crust is crucial for a great cherry pie. Here are some popular crusts:
- All-Butter Crust: Rich and flaky
- Shortening-Based Crust: Soft and light
- Combination Butter-Shortening Crust: The best mix
By picking the right ingredients and knowing pie-making, you’ll make a cherry pie that everyone will love.
Preparing Your Homemade Cherry Pie Filling
Making the perfect cherry pie filling is an art. It turns a simple dessert into a showstopper. Start by picking the right cherries and making a filling that’s just right.
- Choose between fresh, frozen, or canned cherries
- Properly pit and prepare your cherries
- Select the right thickening agent
- Balance sugar and flavoring
Fresh cherries give the best flavor. Use a cherry pitter to make pitting easier. Frozen cherries are also good, and they’re handy when cherries are out of season.
| Cherry Type | Preparation Time | Flavor Intensity |
|---|---|---|
| Fresh Cherries | 30-45 minutes | High |
| Frozen Cherries | 15-20 minutes | Medium |
| Canned Cherries | 5-10 minutes | Low |
For the right consistency, use cornstarch or tapioca as a thickener. Pro tip: Add a splash of lemon juice to brighten the flavor and enhance the natural cherry taste. A little almond extract can make your filling even better.
Make sure your filling isn’t too runny or too thick. Cook the cherries until they release their juices and the mixture thickens. Let it cool completely before adding it to your pie crust for the best taste and texture.
Mastering the Art of Cherry Pie Crust
Making the perfect homemade cherry pie begins with a flaky crust. The base of any great pie is built on careful preparation. It turns simple ingredients into a true masterpiece.
Creating the Perfect Flaky Texture
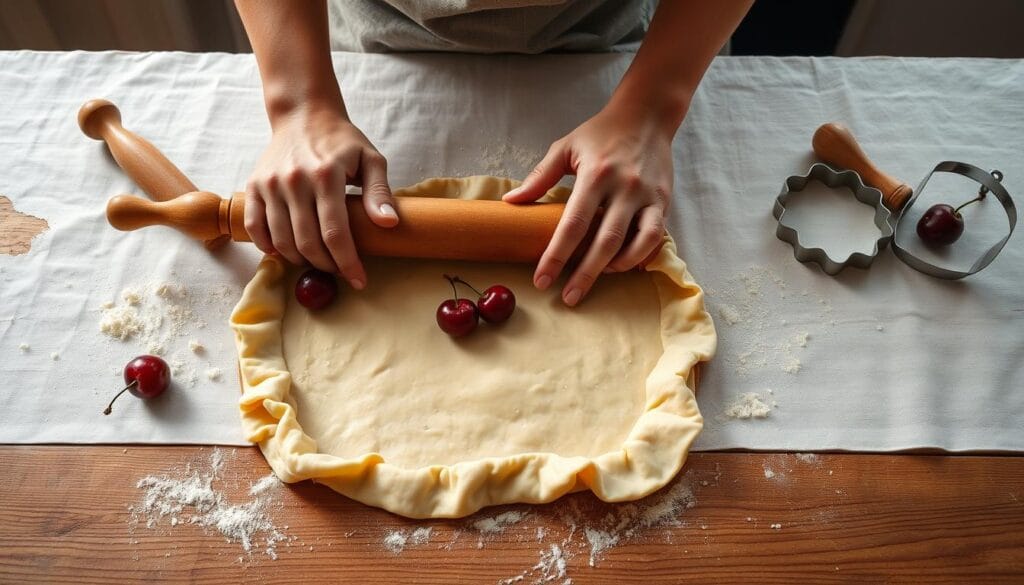
To get a flaky crust, you need precision and patience. Here are your key steps:
- Use ice-cold butter cut into small cubes
- Minimize handling of the dough to prevent gluten development
- Chill the dough for at least 1 hour before rolling
- Work on a cool surface to keep ingredients cold
Decorative Top Crust Techniques
Make your homemade cherry pie stand out with creative top crust designs. Here are some popular methods:
- Classic Lattice Pattern: Weave strips of dough in an interlocking design
- Cutout Shapes: Use cookie cutters to create decorative elements
- Braided Edge: Twist strips of dough around the pie’s perimeter
Proper Sealing and Crimping Methods
To keep your cherry pie crust sealed during baking, follow these steps. Gently press the edges together for a tight seal. This prevents the filling from leaking. Use your fingers or a fork to create a decorative crimped edge. It looks beautiful and helps keep the filling inside.
Cherry Pie Baking Tips and Techniques
Making the best cherry pie is more than just using great ingredients. Learning a few key baking techniques can make your pie go from good to amazing.
Temperature and where you place the pie are very important. Start by heating your oven to 375°F. Put the rack in the lower third of the oven. This helps the heat spread evenly and keeps the crust from getting soggy.
- Use a glass pie dish to monitor crust browning
- Protect pie edges with aluminum foil or a pie shield
- Bake on a preheated baking sheet for crisp bottom crust
Knowing when your pie is done is an art. Look for these signs:
- Filling bubbles thickly through the top crust
- Crust turns golden brown
- Internal temperature reaches 212°F
After baking, patience is key. Let your pie cool for at least 3-4 hours. This helps the filling set and makes slicing easier. A well-baked pie should hold its shape, showing off juicy cherries and flaky crust.
Pro tip: For the ultimate cherry pie, let it cool completely on a wire rack. This keeps the bottom crust crisp and ensures a delightful texture that will wow anyone.
Conclusion
Making the ultimate classic cherry pie is more than just baking. It’s a journey that goes beyond the oven. Learning about storage, serving, and common issues can make your pie experience even better.
Smart Storage Solutions
Keeping your cherry pie fresh is key. You can store it at room temperature for 1-2 days, covered with foil. For longer, refrigeration can keep it good for 4-5 days.
- Room temperature storage: 1-2 days
- Refrigerator storage: 4-5 days
- Freeze for up to 3 months
Troubleshooting Pie Challenges
Even pros face issues with cherry pie toppings. Here are quick fixes for common problems:
| Problem | Solution |
|---|---|
| Soggy Bottom Crust | Prebake crust, use ceramic pie dish |
| Runny Filling | Add cornstarch, let pie cool completely |
| Tough Crust | Minimize handling, use cold butter |
Seasonal Cherry Pie Variations
Seasonal changes can transform your classic cherry pie. Summer brings fresh cherries, while winter invites frozen fruit mixes. Try Bing, Rainier, or sour cherries for new tastes.
- Summer: Fresh sweet cherries
- Winter: Frozen cherry blend
- Spring: Mixed berry-cherry combination
Enjoy the journey of making the perfect cherry pie. Each slice is a tale of patience, skill, and tradition.
Essential Ingredients for a Classic Cherry Pie
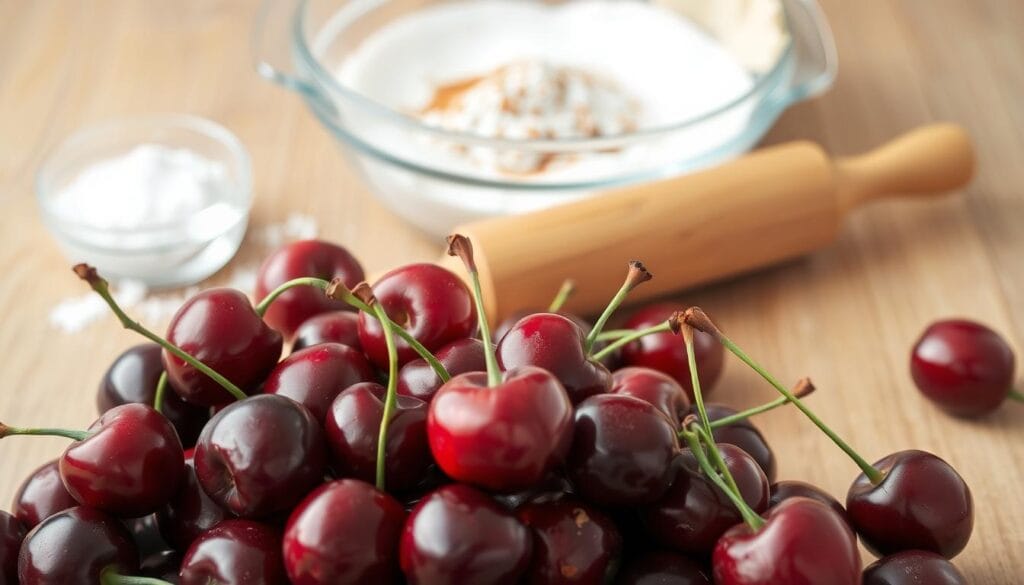
Making a perfect classic cherry pie begins with the right ingredients. The quality and balance of each part are key. From cherries to crust, every piece is important for a delicious dessert.
Now, let’s look at the main ingredients for your cherry pie filling. Cherries are the main attraction. You can choose from:
- Fresh cherries (perfect for summer)
- Frozen cherries (easy and consistent)
- Canned cherry pie filling (quickest choice)
For a truly amazing classic cherry pie, here are the must-haves:
| Ingredient | Purpose | Recommended Quantity |
|---|---|---|
| Fresh or Frozen Cherries | Primary fruit base | 4-5 cups |
| Granulated Sugar | Sweetness and balance | 3/4 to 1 cup |
| Cornstarch | Thickening agent | 3-4 tablespoons |
| Lemon Juice | Brightness and acidity | 1-2 tablespoons |
Your pie crust needs special ingredients too. The best crust has flour, cold butter, salt, and ice water. Pastry flour is best for a tender, flaky crust that goes well with cherry filling.
Pro tip: Use unsalted butter and keep ingredients cold for the best pie crust. The right ingredients make a simple dessert unforgettable.
Preparing Your Homemade Cherry Pie Filling
Making homemade cherry pie filling is an art. It turns simple ingredients into a tasty dessert. The filling’s flavor and texture depend on the cherries you choose and how you prepare them.
Start by picking high-quality cherries for your pie. Fresh cherries are best, but frozen or canned ones can also make a great filling. If using fresh cherries, you’ll need to remove the pits first. A cherry pitter makes this easy, or you can use a sharp knife.
- Select ripe, firm cherries with deep red coloration
- Remove stems and pit each cherry carefully
- Drain excess liquid if using frozen or canned cherries
To make a rich filling, balance sweetness and consistency. Sugar draws out the cherries’ juices, while thickeners like cornstarch or tapioca keep it from being too runny. Try different amounts of these ingredients:
| Ingredient | Purpose | Recommended Amount |
|---|---|---|
| Granulated Sugar | Sweetness | 1/2 to 3/4 cup |
| Cornstarch | Thickening | 3-4 tablespoons |
| Lemon Juice | Brightness | 1-2 tablespoons |
Adding subtle spices like cinnamon or a bit of almond extract can enhance the flavor. These touches can make your filling go from good to amazing. Let the filling cool completely before adding it to your pie crust to avoid a soggy bottom.
Your filling should be thick enough to hold its shape but still juicy. With practice, you’ll get it just right. Your homemade cherry pie filling will impress everyone.
Mastering the Art of Cherry Pie Crust
Making the perfect cherry pie crust is an art. It turns a simple dessert into a masterpiece. Understanding the key techniques is essential for a great crust.
The secret to a great crust is temperature, technique, and ingredients. Cold ingredients are key for that flaky texture everyone loves.
- Use ice-cold butter cut into small cubes
- Chill your mixing bowl and utensils before starting
- Work quickly to prevent butter from warming
When making your crust, handle it little. Too much handling makes the crust tough. A food processor helps you avoid this.
| Ingredient | Purpose | Recommended Quantity |
|---|---|---|
| All-purpose flour | Provides structure | 2½ cups |
| Unsalted butter | Creates flakiness | 1 cup (cold) |
| Ice water | Binds ingredients | 6-8 tablespoons |
Rolling out the crust needs patience. Use a floured surface and rotate the dough often. Aim for an even ⅛-inch thickness for the best texture.
Pro tip: Chill your pie in the fridge for 30 minutes before baking. This step keeps the crust’s shape and makes it golden.
Cherry Pie Baking Tips and Techniques
Making the best cherry pie is more than just mixing ingredients. Learning a few key baking techniques can make your pie go from good to great.
Getting the oven temperature right is key. Preheat to 375°F (190°C). Place a baking stone on the lower rack for even heat. This trick helps get a crisp, golden crust.
- Use a dark metal pie pan for a crispier bottom crust
- Create steam vents in the top crust to prevent sogginess
- Protect pie edges with aluminum foil to prevent over-browning
When baking, watch for visual signs of a perfect pie:
| Baking Indicator | What to Look For |
|---|---|
| Crust Color | Golden brown and crisp |
| Filling Bubbling | Thick, slow bubbles near the center |
| Cooling Time | Let pie rest 2-3 hours to set completely |
Preventing baking mistakes takes patience and practice. Blind baking your crust can stop it from getting soggy. Letting the pie cool completely helps the filling set right.
Pro tip: Cool your pie on a wire rack. This keeps the crust crisp and prevents moisture buildup.
Conclusion
Making the perfect cherry pie takes passion, precision, and practice. You’ve learned how to pick the best cherries, make a flaky crust, and fill it just right. This turns simple ingredients into a stunning homemade treat.
Your cherry pie topping can make the dessert even better. You can choose a classic lattice design or a rustic crumble top. Adding vanilla ice cream or whipped cream makes it even more special, pleasing everyone who tries it.
Baking is a journey of learning. Every pie you make gets better, and trying new things expands your skills. Enjoy the process, trust yourself, and relish the tasty outcome of your baking journey.
Now you have the skills to make amazing cherry pies that will be loved by all. Keep trying new things, stay curious, and most importantly, have fun in the kitchen.

