This post may contain affiliate links. If you purchase through these links, we may earn a commission at no extra cost to you.
There’s something special about cooking a meal at home. The smell fills your kitchen. Your family waits eagerly, ready to eat.
Knowing you made something healthy with your own hands is rewarding. A baked split chicken breast can give you that feeling.
Cooking a healthy meal at home is easy. You don’t need fancy tools or rare ingredients. This guide shows you how to make baked split chicken breast perfectly every time.
You’ll learn pro tips that make your cooking better. Your family will notice the difference in taste and texture. Plus, these methods work for any number of people.
Start your journey to mastering this simple dish here. The steps are easy to follow. Your meals will be delicious and healthier too.
Why You Should Choose Baked Split Chicken Breast
Choosing bone-in poultry has big advantages over boneless cuts. Baked split chicken breast offers better flavor, moisture, and nutrients. The bone helps the meat cook evenly and keeps juices inside.
Nutritional Benefits of Bone-In Poultry
Bone-in chicken is more nutritious than boneless options. The bone and connective tissue have minerals and collagen. These support bone and joint health.
Eating baked split chicken breast gives you:
- High-quality protein for muscle growth
- Essential minerals like phosphorus and calcium
- Selenium for immune system support
- B vitamins for energy production
Why Split Breasts Stay Moist
Split breasts are thicker than boneless cuts. The bone protects the meat from drying out in the oven. USDA research shows bone-in cuts stay moist better.
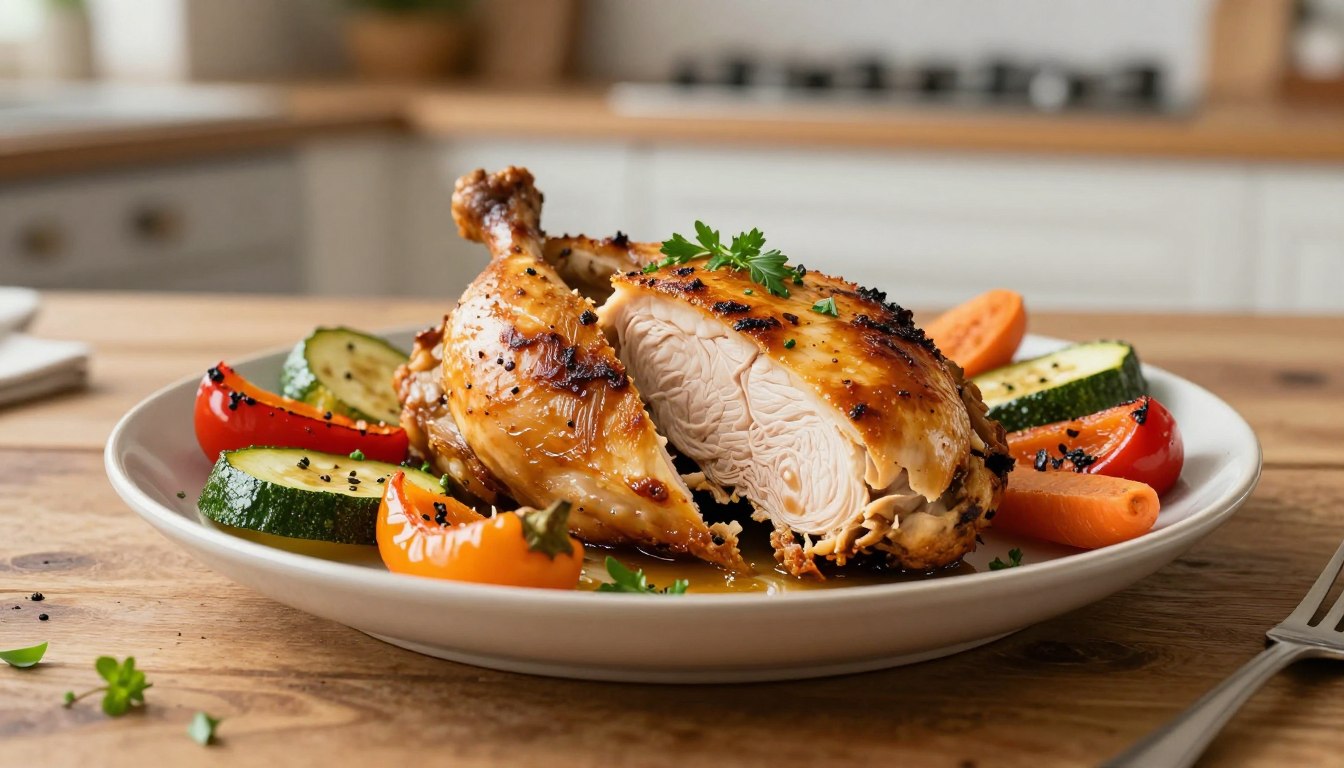
The bone cooks the meat slowly and evenly. This prevents the outside from getting too dry. Your baked split chicken breast will have a golden outside and juicy inside, just like in a restaurant.
Essential Ingredients for Your Flavorful Dish
Creating a flavorful dish starts with picking the right ingredients. High-quality items turn simple chicken into a memorable dish. You need fresh herbs, quality spices, and premium olive oil to add depth and richness.
Selecting Fresh Herbs and Spices
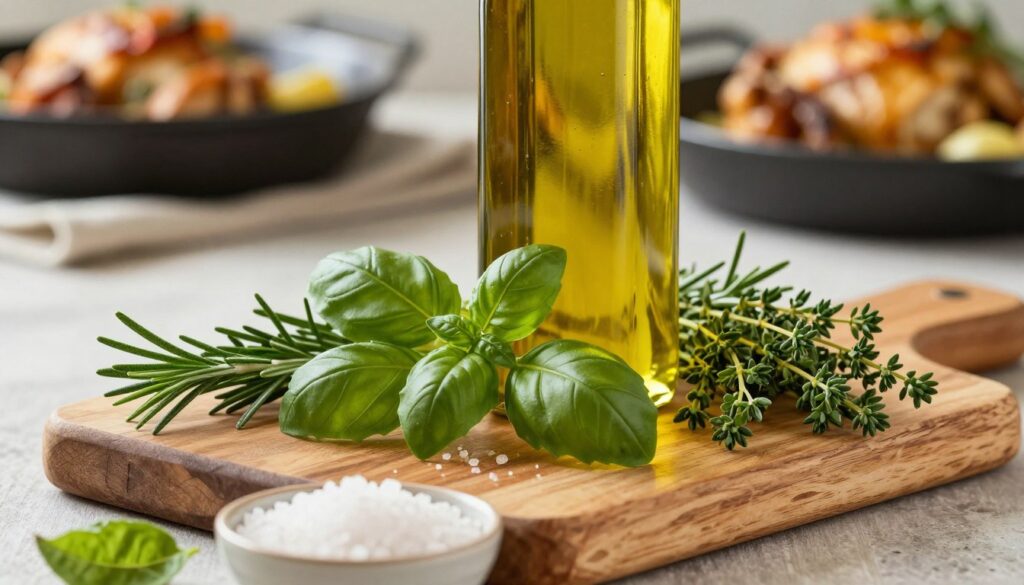
Fresh herbs add volatile aromatic oils that dried herbs can’t match. Using fresh rosemary, thyme, and oregano brings complex flavors to your chicken. These herbs also boost the taste and nutrition of your meal.
Make sure your spice cabinet has these key items:
- Fresh rosemary sprigs
- Garden thyme
- Black peppercorns (freshly ground)
- Sea salt
- Garlic cloves
- Lemon zest
Fresh herbs pack more flavor than dried ones. Keep them fresh in the fridge until you’re ready to cook.
Choosing Quality Olive Oil
Use cold-pressed extra virgin olive oil for the best results. This oil is full of monounsaturated fats that are good for your heart. It also helps your chicken get a golden-brown color. The oil’s natural compounds mix into the meat as it bakes.
| Oil Type | Best Uses | Flavor Profile | Smoke Point |
|---|---|---|---|
| Extra Virgin Olive Oil | Marinades, drizzling | Rich, fruity | 375°F |
| Virgin Olive Oil | Cooking, basting | Mild, clean | 420°F |
| Pure Olive Oil | High-heat cooking | Neutral | 465°F |
Choose bottles that say “cold-pressed” or “first-pressed.” These oils keep more nutrients and taste better. Brands like California Olive Ranch and Colavita are great choices for home cooks.
Preparing Your Oven-Baked Poultry
Getting your baked split chicken breast ready for the oven is easy. This recipe needs little equipment and time. The secret is in the seasoning and how heat cooks the chicken.
Start by taking your chicken out of the fridge 15 minutes before cooking. This lets it warm up to room temperature. This helps it cook evenly. Then, dry the chicken with paper towels to make the skin crispy.
Heat your oven to 400°F. This temperature is perfect for cooking the chicken. It cooks the skin well and keeps the meat juicy. Your chicken will be ready in 35 to 40 minutes, depending on its size.
Before putting your chicken in the oven, do these steps:
- Season both sides with salt and black pepper
- Put olive oil on the skin for crispiness
- Place pieces skin-side up on your baking sheet
- Make sure there’s space between each piece for air
Use a rimmed baking sheet or cast-iron skillet for cooking. These help distribute heat evenly. They also make the skin crispy and golden.
Looking for more easy homemade recipes? Try these favorites from our kitchen:
- Chicken Fried Steak
- Chicken au Poivre
- Chicken and Stuffing Casserole
- One Pot Chicken and Vegetables
- Chicken and Dumplings
Mastering the Simple Marinade
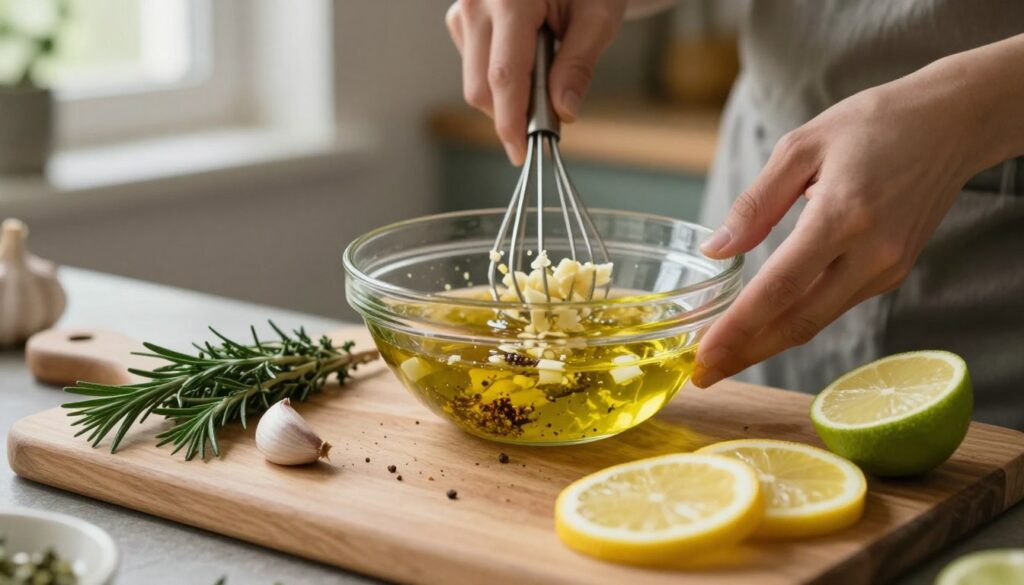
A simple marinade can turn ordinary chicken into something amazing. The right mix of ingredients boosts flavor and texture. Your baked split chicken breast will taste like it’s from a restaurant when you get the marinade right.
Balancing Acid and Fat
Every good marinade has acid and fat. Acid comes from lemon, lime juice, or vinegar. It tenderizes the chicken’s outer layer, making it ready to soak up more flavor.
Fat brings flavor deep into the meat. Olive oil is the best choice for this. Mixing acid with fat creates a strong flavor system. The oil helps spices and herbs stick to your chicken.
- Lemon or lime juice provides bright acidity
- Extra virgin olive oil delivers rich, savory flavor
- Garlic and herbs enhance the overall taste
- Salt helps the marinade penetrate the meat
Optimal Marinating Times
Timing is key when marinating chicken. A minimum of 30 minutes starts the flavor process. For even deeper flavor, aim for 2 to 4 hours in the fridge.
| Marinating Duration | Flavor Depth | Best Use |
|---|---|---|
| 30 minutes | Light flavor | Quick weeknight meals |
| 1-2 hours | Moderate flavor | Standard preparation |
| 3-4 hours | Deep flavor | Maximum taste impact |
Don’t marinate longer than 4 hours. Longer times can make chicken mushy. Always keep your chicken in the fridge to prevent bacterial growth.
Best Amazon Picks:
Achieving Perfectly Juicy Chicken
Getting your oven-baked chicken to turn out moist and tender takes practice and precision. The key to success lies in knowing when your meat reaches the right internal temperature. Your goal should be hitting exactly 165°F, which is the safe temperature recommended by food safety experts. This temperature kills harmful bacteria while keeping your chicken breast from becoming dry and tough.
An instant-read thermometer becomes your best tool in the kitchen. Insert the thermometer into the thickest part of the chicken breast without touching bone. Wait for the reading to stabilize before removing it. This simple step prevents overcooking and ensures juicy chicken that tastes delicious every time.
Following this easy recipe approach means avoiding the common mistake of leaving your chicken in the oven too long. Many home cooks worry about food safety, so they cook their meat beyond what’s necessary. This dry, tough result disappoints everyone at dinner. By using a reliable thermometer, you remove the guesswork.
Key Temperature Guidelines
| Internal Temperature | Result | Food Safety Status |
|---|---|---|
| Below 165°F | Undercooked, possible bacteria | Not Safe |
| Exactly 165°F | Juicy, tender, fully cooked | Safe to Eat |
| Above 170°F | Dry, tough texture | Overcooked |
Pro Tips for Moist Results
- Let your chicken rest for five minutes after cooking
- Use a meat thermometer with a quick-read feature
- Check temperature in multiple spots for accuracy
- Remove chicken from heat immediately at 165°F
The resting period after cooking matters just as much as the cooking itself. This time allows juices to redistribute throughout the meat, creating a more succulent final dish. Your dedication to these details transforms an ordinary dinner into something restaurant-quality that your family will request again and again.
Benefits of This Healthy Dinner for Meal Prep
Baked split chicken breast is a great pick for meal prep. It lets you cook several portions at once, saving time on busy days. Cooking a batch on Sunday means you have quick meals for the week.
Meal prep reduces stress when you get home late. Your chicken goes well with roasted veggies, brown rice, or quinoa. You can mix sides to keep meals fresh without extra cooking.
Storing Your Cooked Chicken
Proper storage keeps your chicken fresh and safe. Cool your chicken and put it in airtight containers in the fridge right away.
- Store chicken in the refrigerator for 3 to 4 days maximum
- Use glass or BPA-free plastic containers
- Label containers with the date you prepared them
- Keep your refrigerator at 40°F or below
- Do not leave cooked chicken at room temperature longer than 2 hours
Reheating Tips for Busy Weeknights
Reheat your chicken right to keep it tender and juicy. Avoid high heat, as it dries out the meat fast.
| Reheating Method | Temperature | Time Required | Best Results |
|---|---|---|---|
| Oven | 350°F | 12-15 minutes | Add splash of chicken broth |
| Stovetop | Medium heat | 5-7 minutes | Use covered skillet with water |
| Microwave | 50% power | 3-4 minutes | Cover with damp paper towel |
When reheating, add water or chicken broth to keep it moist. Don’t microwave on full power to avoid uneven heating. Your chicken will stay delicious for any meal.
Serving Suggestions for a Low-Carb Option
Your baked split chicken breast is even better with the right sides. Choose vegetables that are low in carbs but full of nutrients. This way, your meal stays healthy and tasty.
For a complete dinner, pick vegetables that go well with your chicken. Here are some great options:
- Roasted broccoli with garlic and olive oil
- Asparagus grilled with lemon juice
- Cauliflower florets seasoned with herbs
- Sautéed spinach with minced garlic
- Zucchini noodles tossed in butter
- Brussels sprouts roasted until crispy
These sides offer essential fiber and vitamins that match your chicken’s protein. Fiber helps with digestion, and vitamins boost your immune system and energy. Together, they make a meal that keeps you full and happy.
Building your plate with whole foods keeps your meal balanced and flavorful. Add fresh herbs like rosemary, thyme, or basil for extra flavor. A drizzle of quality olive oil ties everything together.
This mix makes a complete, nourishing dinner that’s perfect for your wellness routine.
Related Recipes:
Chicken and Stuffing Casserole
One Pot Chicken and Vegetables
Conclusion
Baked split chicken breast is a great way to make healthy, tasty meals at home. Learning how to marinate and roast it right ensures a flavorful dish every time. It’s perfect for those looking for nutritious meals that are moist and delicious.
Using this method makes meal prep a breeze. Baked chicken goes well with veggies and salads, making it a great low-carb choice. You can cook a few portions at once and keep them in the fridge for busy days. This saves time and helps you stay on track with your health goals.
With a little practice, making juicy chicken becomes second nature. You’ll know how to handle marinades, roasting, and storage with ease. Try these techniques this week and see how easy it is to cook healthy, restaurant-quality meals at home.