This post may contain affiliate links. If you purchase through these links, we may earn a commission at no extra cost to you.
Remember that frantic weeknight feeling? The clock is ticking, hungry faces are waiting, and you need a dinner solution that’s both delicious and done in a flash. We’ve all been there.
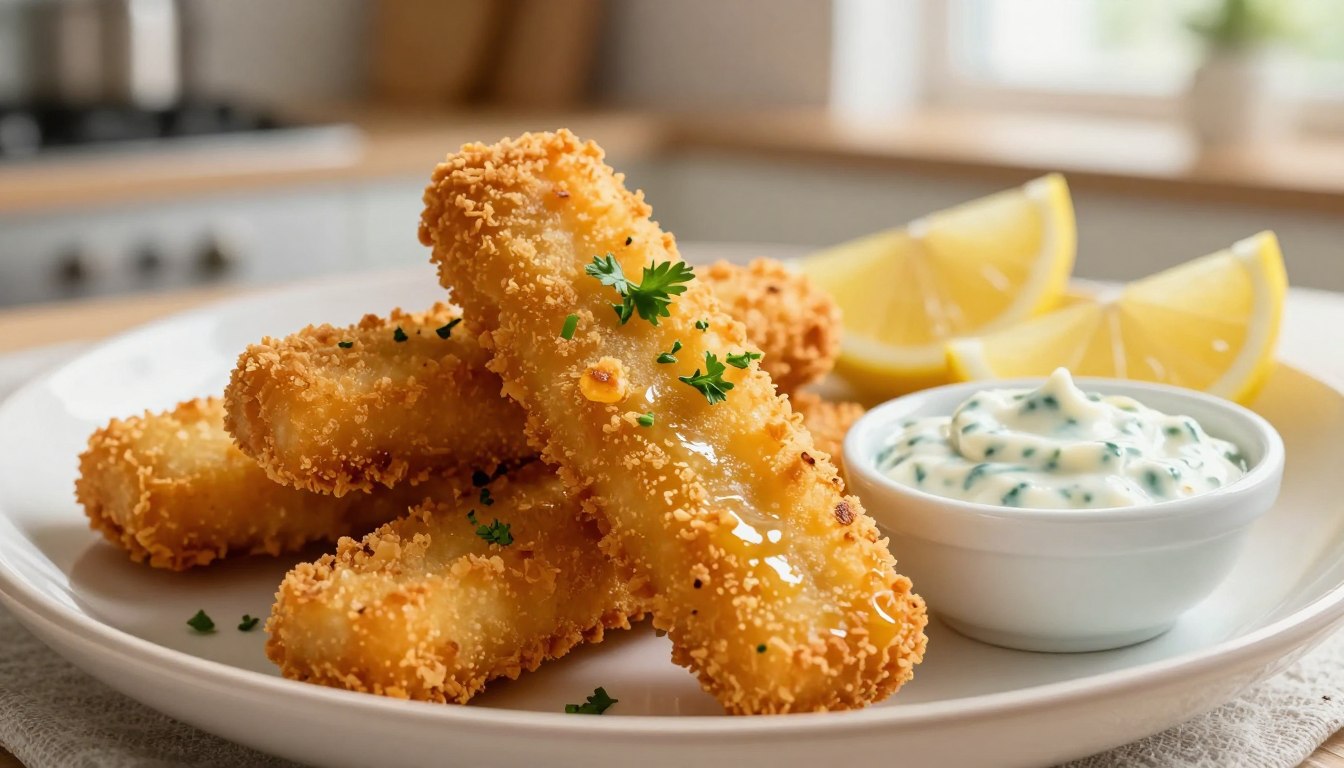
This guide is your answer. You’ll discover how to make incredibly crispy, golden sticks with a tender, flaky interior using a countertop appliance. It’s a healthier alternative to deep-frying with far less mess. Your perfect air fryer fish sticks are just minutes away.
The beauty of this method is its versatility. Whether you’re using a frozen package for ultimate convenience or crafting a homemade version from scratch, the results are fantastic. It requires minimal ingredients and works for cooks of any skill level.
We’ll walk you through everything. You’ll get pro tips for maximum crunch, ideas for delicious dips, and simple troubleshooting advice. Get ready for a family-approved meal that turns chaos into comfort.
Table of Contents
Why Air Fryer Fish Sticks Are a Weeknight Game-Changer
The secret to reclaiming your weeknights lies in a method that combines speed, health, and taste. This approach turns a common frozen item into a delicious, dependable meal.
Time savings are massive. Your countertop appliance cooks frozen breaded pieces in about 9 to 12 minutes. Many models don’t need preheating, so you start cooking instantly.
You also get a much healthier result. This technique uses a tiny fraction of the oil required for deep-frying. Your meal ends up lighter, with fewer calories and far less grease.
The texture is superior. Rapid hot air circulation creates an evenly golden, crispy crust on every side. It often beats the softer outcome from a standard oven.
This meal is a huge win for the whole family. Both kids and adults love these crispy seafood bites. You can keep it simple or dress them up with various dipping sauces.
Cleanup is incredibly easy. Most cooking baskets or trays are dishwasher safe. You avoid the splattered mess and lingering smell of a pot of oil.
You have total flexibility. Use store-bought frozen items for ultimate speed. Or make a homemade version for control over ingredients and quality.
It’s energy efficient. Heating a small appliance uses less power than a full-sized oven. This is perfect for preparing smaller dinner portions.
This process elevates a simple freezer staple. It becomes a genuinely enjoyable and quick solution for your busiest evenings.
| Aspect | This Method | Traditional Oven | Deep Frying |
|---|---|---|---|
| Total Time | Very Quick (9-12 mins, often no preheat) | Slower (15-20 mins + preheat) | Moderate (varies with oil temp) |
| Cleanup Effort | Minimal (Dishwasher-safe parts) | Moderate (Baking sheet) | Major (Oil disposal, splatter) |
| Health Factor | High (Uses little to no oil) | Good (Little oil needed) | Low (Food absorbs oil) |
| Final Texture | Consistently Crispy All Over | Can Be Uneven or Soft | Very Crispy but Greasy |
What You Need: Ingredients & Equipment
Gathering the right components is the first step to a perfect, hassle-free dinner. This section lists everything required for both speedy and scratch-made versions. You can choose the path that best fits your time and taste.
Having your items organized makes the process smooth. Whether you opt for frozen convenience or a homemade favorite, success is guaranteed.
For the Quickest Meal: Using Frozen Fish Sticks
This is the ultimate shortcut. Any popular brand, like Gorton’s, will work perfectly. Choose a type you enjoy, such as cod or haddock.
A crucial tip: cook them straight from the freezer. Do not thaw your frozen pieces. This helps the coating stay crisp.
For extra golden crunch, a light oil mist is optional. Use a pure oil spray in a refillable bottle. Never use standard aerosol cooking sprays. They can damage your appliance’s non-stick surface.
For a From-Scratch Favorite: Homemade Fish Sticks
Making them yourself gives you control over quality and flavor. Start with 1.5 pounds of mild, firm fillets. Cod, halibut, and pollock are excellent choices.
You will create a three-stage dredging station. You need one cup of all-purpose flour, two beaten eggs, and one cup of panko breadcrumbs.
Season the breadcrumbs generously. A classic mix includes garlic powder, onion powder, paprika, salt, and pepper. Feel free to customize.
For different flavors, try Italian-seasoned breadcrumbs. Add grated Parmesan cheese or a sprinkle of Old Bay seasoning. A squeeze of fresh lemon zest brightens everything.
Dietary restrictions are easy to accommodate. For a gluten-free and eggless version, use 1 lb of cod. Mix 3/4 cup gluten-free breadcrumbs with ground flax seed, parsley, salt, and pepper. Use cooking spray to help the coating stick.
| Aspect | Frozen Convenience | Homemade Control |
|---|---|---|
| Primary Ingredients | Pre-breaded frozen pieces (any brand/type) | Fresh fillets (cod, halibut), flour, egg, breadcrumbs |
| Prep Time | None (use directly from freezer) | 15-20 minutes (cutting, dredging) |
| Flavor Customization | Limited to brand selection | Full control (herbs, spices, cheese) |
| Special Diet Friendly | Check package labels | Easily adaptable (gluten-free, eggless) |
| Key Tip | Do not thaw; optional pure oil spray | Pat fillets very dry before coating |
Essential Equipment: Your Air Fryer
Any model works wonderfully. Both basket-style and oven-style countertop cookers deliver great results. Cooking times may vary slightly by machine size and power.
You will need a few other simple tools. Have non-stick cooking spray (the safe kind) ready. Tongs are perfect for flipping the seafood bites.
Set up shallow bowls or plates for your dredging station. A baking sheet is useful for holding coated pieces before they go in.
One step cannot be skipped for homemade versions. Pat the raw fillets completely dry with paper towels. This is critical for the breadcrumbs to adhere properly and get super crisp.
Step-by-Step: How to Make Air Fryer Fish Sticks
Follow this clear guide to get delicious results, whether you’re using a frozen package or fresh fillets. Both paths are straightforward and yield excellent, crispy outcomes.
Simply adhere to the instructions below. You’ll have a fantastic meal ready in no time.
If you enjoy simple homemade comfort meals like this Air Fryer Fish Sticks, you might also love these easy recipes:
- Maple Salmon
- Lemon Rosemary Salmon
- Chef John’s Salmon
- Grilled Cod with Spinach and Tomatoes
- Baked Fish in Foil
Method 1: Cooking Frozen Fish Sticks to Crispy Perfection
This is the ultimate convenience route. Your frozen pieces go straight from the freezer to a golden finish.
- Preheat your appliance if needed. Many models don’t require it, but if yours does, set it to 400 degrees F. This takes about 3 minutes.
- Arrange your pieces in a single layer. Place them in the air fryer basket with a little space between each. This ensures proper hot air circulation for even crisping.
- Set the temperature and timer. Cook at 400 degrees F for 9 to 10 minutes. The exact cooking time can vary.
- Flip halfway through. Use tongs to gently turn each piece at the 5-minute mark. This flipping step guarantees browning on all sides.
- Check for doneness. They are ready when the coating is a deep golden brown and crispy. For food safety, verify the internal temperature reaches 165°F with a meat thermometer.
Let them cool for a minute before serving. They will be piping hot inside.
Method 2: Crafting Crispy Homemade Fish Sticks
Making them from scratch gives you superior flavor control. The process is simple and rewarding.
Start by preheating your countertop cooker to 375 degrees F. While it heats, set up a dredging station with three shallow dishes.
Fill one with all-purpose flour, another with beaten eggs, and the third with seasoned panko breadcrumbs.
Cut your fresh, mild white fillets into uniform strips. Pat them completely dry with paper towels. This is a crucial step for coating adhesion.
Lightly spray the fryer basket with a pure oil mist. Dredge each strip in flour, then egg, then press into the breadcrumbs.
Arrange the coated pieces in a single layer in the prepared basket. Do not crowd them. If needed, cook in batches to prevent steaming.
Set the temperature to 375 degrees F and the timer for 6 minutes. Flip them halfway through the cooking time, at the 3-minute mark.
They are done when the exterior is crunchy and the inside is opaque and flaky. The target internal temperature for perfect seafood is 140-145°F.
For a gluten-free and eggless version: Coat oil-misted strips directly in a mixture of gluten-free breadcrumbs and ground flax. Cook at 400 degrees for about 10 minutes, flipping once.
Remember, appliance power and piece thickness affect timing. Always check for doneness a minute early to avoid overcooking.
Pro Tips for the Crispiest Results Every Time
The difference between a soggy coating and a shatteringly crisp one comes down to a handful of pro moves. These strategies ensure your seafood bites turn out perfectly golden and delicious every time.
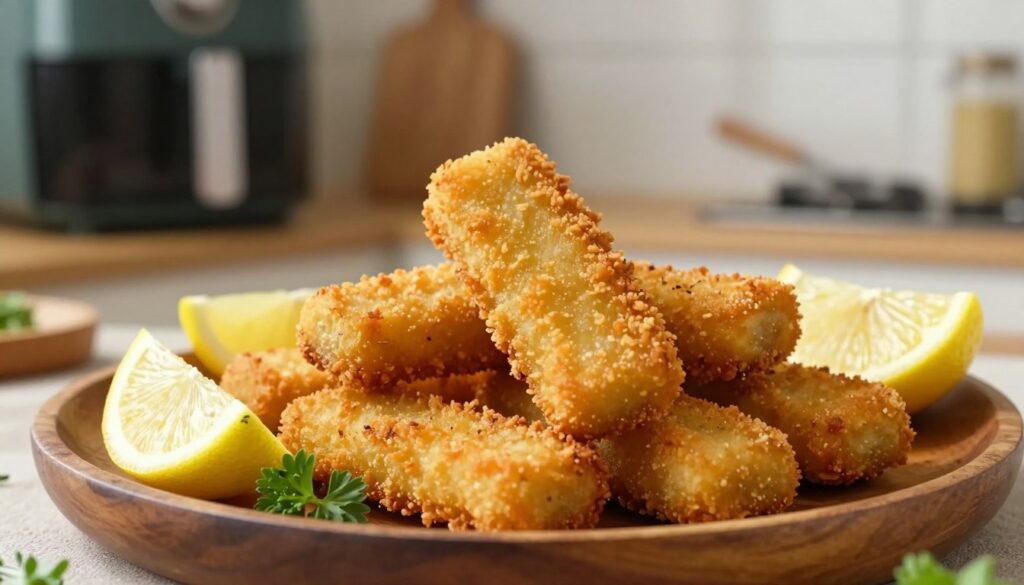
Follow this expert advice to elevate your game. Your results will be consistently outstanding.
- Never Overcrowd: This is the cardinal rule. Arrange your pieces in a single layer with space between them in the air fryer basket. This allows hot air to circulate freely, creating an all-over crunch. If you overcrowd, they will steam instead of crisp.
- Use the Right Spray: A light mist of pure oil cooking spray makes a big difference. Use avocado or olive oil in a refillable bottle. Avoid standard aerosol sprays, as they can damage your appliance. This oil spray promotes superior browning.
- Flip for Even Color: Always flip your pieces halfway through the cook time. This simple step guarantees even browning on all sides for a uniformly crispy finish.
- Rotate for Oven-Style Models: If you use a multi-rack oven-style appliance, rotate the racks halfway through. This accounts for any hot spots and ensures everything cooks evenly.
- Consider Preheating: While many models don’t require it, preheat air fryer can jumpstart the crisping process. This is especially helpful for homemade versions. Check your manual for recommendations on whether to preheat.
- Pat Dry for Homemade: For scratch-made recipes, pat your raw fillets completely dry with paper towels before coating. Any surface moisture will create steam under the breading, preventing a crispy crust.
- Adjust for Thicker Cuts: Larger pieces or beer-battered varieties may need an extra minute or two. Always check for doneness a minute early to avoid overcooking.
- Let Them Rest: After removing them from the air fryer basket, let your cooked pieces rest for one minute. This allows the coating to set fully, locking in that fantastic crunch.
Consulting your appliance’s manual is wise. It provides specific cooking spray guidance and timing for your model.
By mastering these tips, you’ll achieve a crispy, golden exterior with a tender inside every single time. It’s the secret to a perfectly executed meal.
Best Amazon Picks:
Dipping Sauces & Serving Suggestions
Elevate your dinner experience by exploring a world of flavorful sauces and complementary dishes. The right pairings turn your crispy seafood bites into a complete, satisfying meal.
From classic condiments to zesty homemade blends, you have many choices. Let’s find your perfect match.
Classic & Zesty Dipping Sauces
A great dipping sauce adds a burst of flavor. You can stick with simple favorites or whip up something special in minutes.
For a quick, zesty tartar sauce, mix mayonnaise with chopped dill pickles. Add a splash of pickle brine, fresh dill, lemon juice, and a dash of Worcestershire.
Want something more sophisticated? Try a tangy Dijon remoulade. Combine mayo with Dijon mustard, minced red onion, minced pickles, and capers. Season with salt and pepper.
Of course, simple options are always welcome. Ketchup, yellow mustard, or a fresh squeeze of lemon juice are kid-friendly and delicious.
Perfect Sides to Complete Your Meal
Choosing the right sides creates a balanced plate. Consider these categories to build your ideal dinner.
Classic pairings are always a hit. Serve your crispy pieces with a batch of hot fries or crispy potato wedges. A creamy potato salad is another excellent choice.
For lighter options, go for a simple green salad. A Greek cucumber and tomato salad is refreshing. Roasted veggies like broccoli or zucchini add color and nutrition.
Need something more substantial? A lemon-dill pasta salad is fantastic. Homemade mac and cheese provides ultimate comfort.
Get creative with your leftovers. Repurpose them into tacos. Serve in warm tortillas with crunchy slaw and a creamy sauce.
Storing, Reheating, and Freezing Instructions
Smart storage and reheating techniques are the final chapter in your kitchen success story. They let you enjoy your delicious meal today and savor it again tomorrow.
Knowing the right methods keeps your food safe and tasty. It also prevents waste and maximizes your cooking efforts.
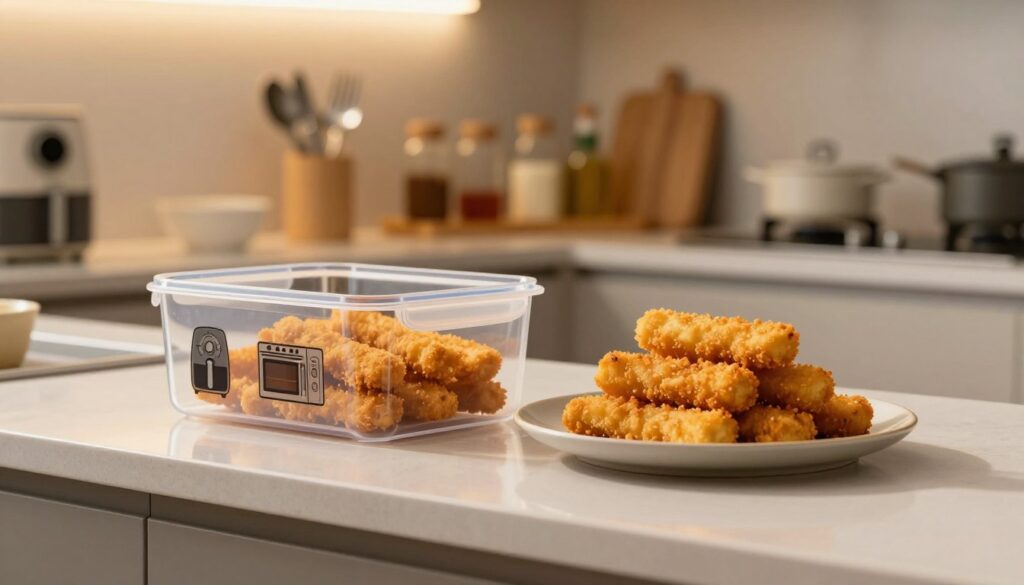
First, let your cooked pieces cool completely at room temperature. This usually takes about 10 to 15 minutes.
Then, store them properly. Place the leftover bites in an airtight container. You can keep this in the fridge for up to 2 or 3 days.
To reheat, your countertop appliance is the best tool. It brings back the crispy texture perfectly.
Set the temperature to 380 degrees F. Warm your leftover pieces for 2 to 3 minutes. They will be hot and crunchy again.
Avoid using the microwave. It will make the coating soft and soggy every time.
You can also freeze your homemade coated strips for later. Let them cool fully after cooking.
Arrange them in a single layer on a baking sheet. Place this sheet in your freezer for one hour. This “flash freezing” step prevents them from sticking together later.
Transfer the now-frozen pieces to a freezer-safe bag or container. They will keep well for up to 3 months.
To cook from frozen, use your appliance directly. No thawing is needed.
Just add 1 or 2 extra minutes to the standard cooking time. Always check that the internal temperature reaches 165°F for safety.
Remember, store-bought frozen items should not be refrozen after you cook them. This method to reheat also works great for other foods, like French fries.
With these simple steps, you can always enjoy a quick, delicious meal.
Troubleshooting Common Air Fryer Fish Stick Issues
When your seafood bites don’t turn out as expected, a quick diagnosis solves the problem. Most issues have simple fixes that ensure a perfect, crispy meal every time.
A soggy coating is the most frequent complaint. This usually happens from overcrowding the cooking basket or skipping the preheat step.
Always arrange pieces in a single layer with space between them. Let your appliance reach the set temperature before adding food.
Sticking to the basket is another common hassle. Prevent this by applying a light coating of pure oil spray to the basket before cooking.
Never use standard aerosol sprays. They can damage the non-stick surface over time.
Uneven cooking occurs if pieces aren’t turned. Always flip them halfway through the cooking time.
For oven-style models with multiple racks, swap their positions midway. This ensures everything browns uniformly.
The cooking time can vary based on several factors. Basket-style and oven-style appliances may perform differently.
Thicker cuts, like cod loin, need more time than thin tilapia strips. Frozen items also cook differently from homemade versions.
To prevent burnt breadcrumbs, watch closely during the final minute. Ensure the temperature is correct: 400°F for frozen, 375°F for homemade.
Avoid dry, overcooked results. Use a meat thermometer to check the internal temperature.
For safety, frozen or precooked items should reach 165°F. Fresh homemade pieces are perfect at 140-145°F for a flaky interior.
Your appliance’s model and brand affect performance. Always consult its manual for specific preheating needs and timing guidance.
| Common Issue | Primary Cause | Best Solution |
|---|---|---|
| Soggy Coating | Overcrowded basket; no preheat | Cook in a single layer; preheat appliance |
| Sticking to Basket | Dry cooking surface | Lightly spray the basket with oil before use |
| Uneven Browning | Not flipped; hot spots | Flip halfway; rotate racks in oven-style models |
| Incorrect Doneness | Variable cooking time | Use a thermometer; adjust time for thickness & type |
| Burnt Exterior | Temperature too high; inattentive | Set correct temp; monitor last minute closely |
| Dry Interior | Overcooking | Remove at safe internal temperature |
With these tips, you can confidently correct any minor mishap. Your next batch will be golden and delicious.
Related Recipes:
- Maple Salmon
- Lemon Rosemary Salmon
- Chef John’s Salmon
- Grilled Cod with Spinach and Tomatoes
- Baked Fish in Foil
Conclusion: Your New Go-To for a Fast, Family-Friendly Dinner
Your search for a quick, family-approved dinner ends right here. This air fryer fish sticks recipe is incredibly easy and offers a healthy twist on comfort food. Choose the frozen shortcut or a customizable homemade version.
You get a guaranteed crispy, golden exterior with tender, flaky insides. It’s a perfect recipe that pleases everyone. Make this your new go-to for hectic weeknights due to its speed and minimal cleanup.
Remember the pro tips for crispy success. Do not overcrowd the basket and flip halfway through. Pair your bites with simple dips or creative sauces.
After one try, you may never use another method. Whip up this quick dinner in minutes and see for yourself. We’d love to hear how it turned out for your family!